
Pin Banner Tutorial
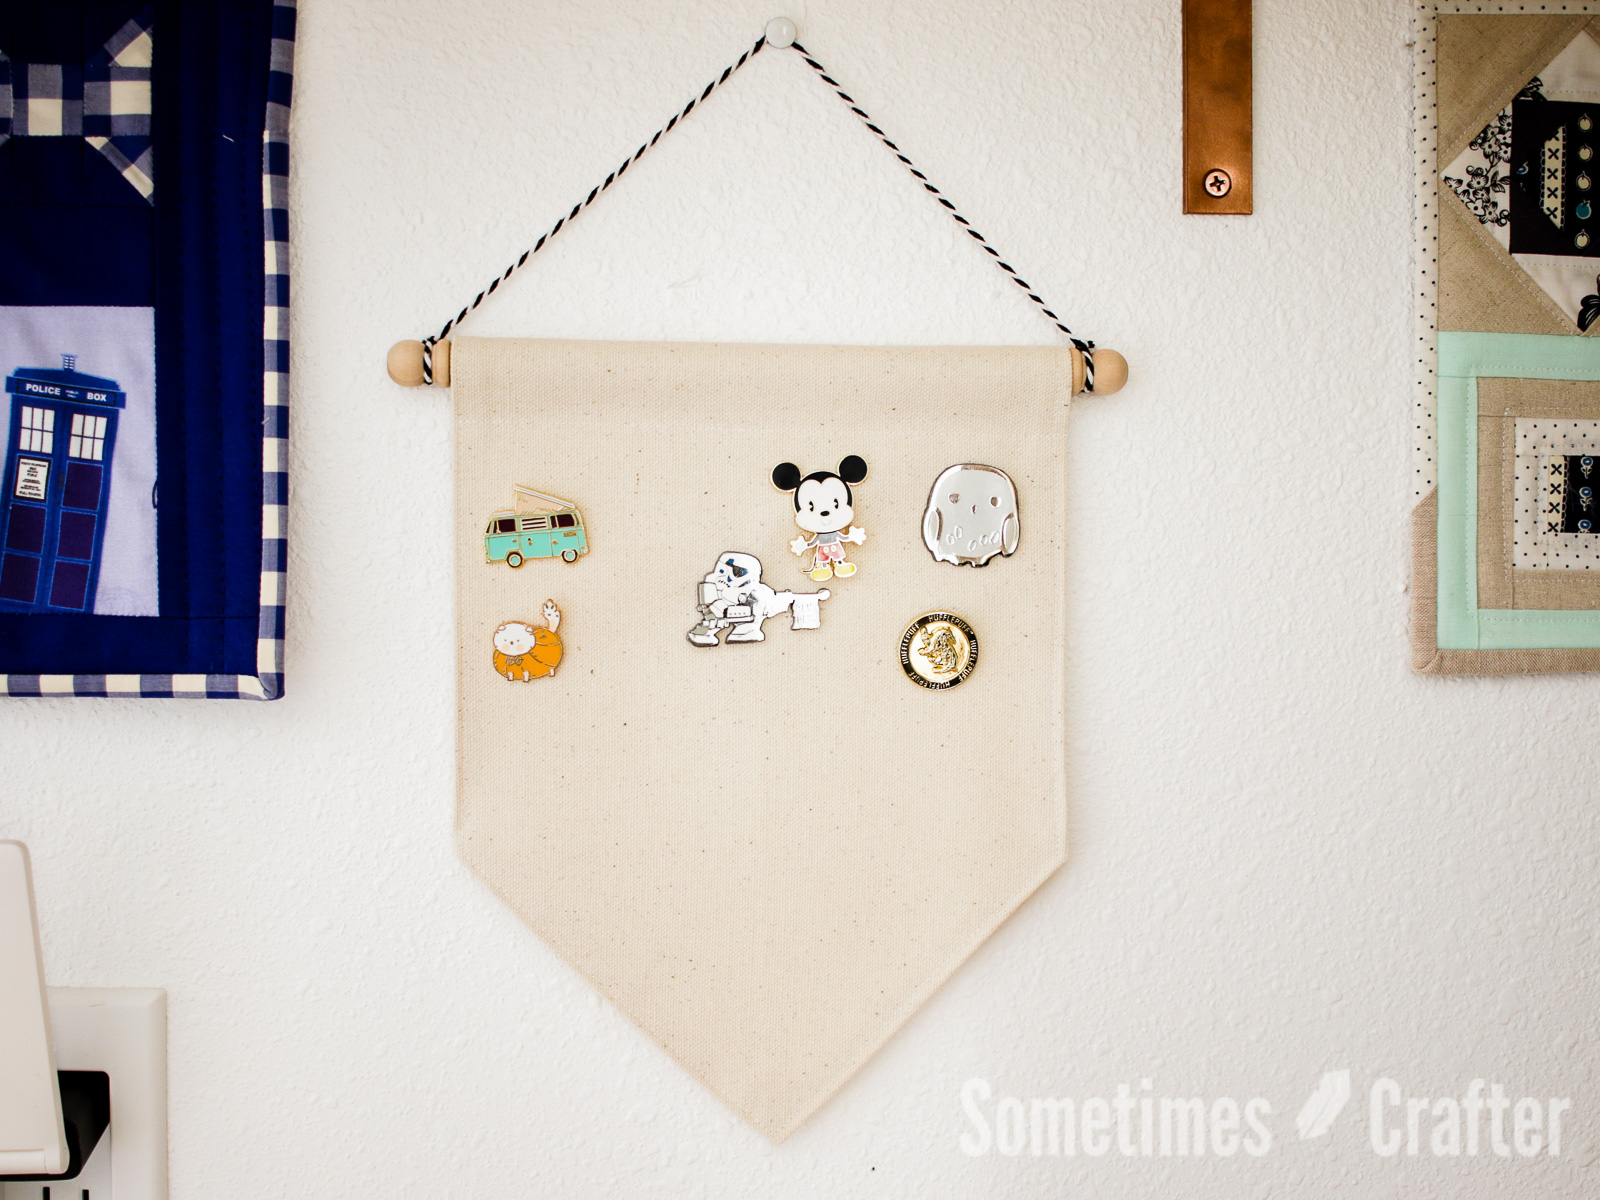
Today i’m sharing how to make this very simple, easy and quick to make pin banner. I bought a few pins this fall and decided I wanted a way to display them in my studio and a pin banner seemed like the cutest and easiest method. I grabbed my canvas and got cutting and this was the end result. It was so easy I decided to type up a quick tutorial so you can make one, too!
Supplies:
- Canvas or other sturdy fabric
- 1/2″ wooden dowel (at least 7.5″ long)
- Finial dowel caps for dowel (optional)
- String or ribbon (for hanging your banner)
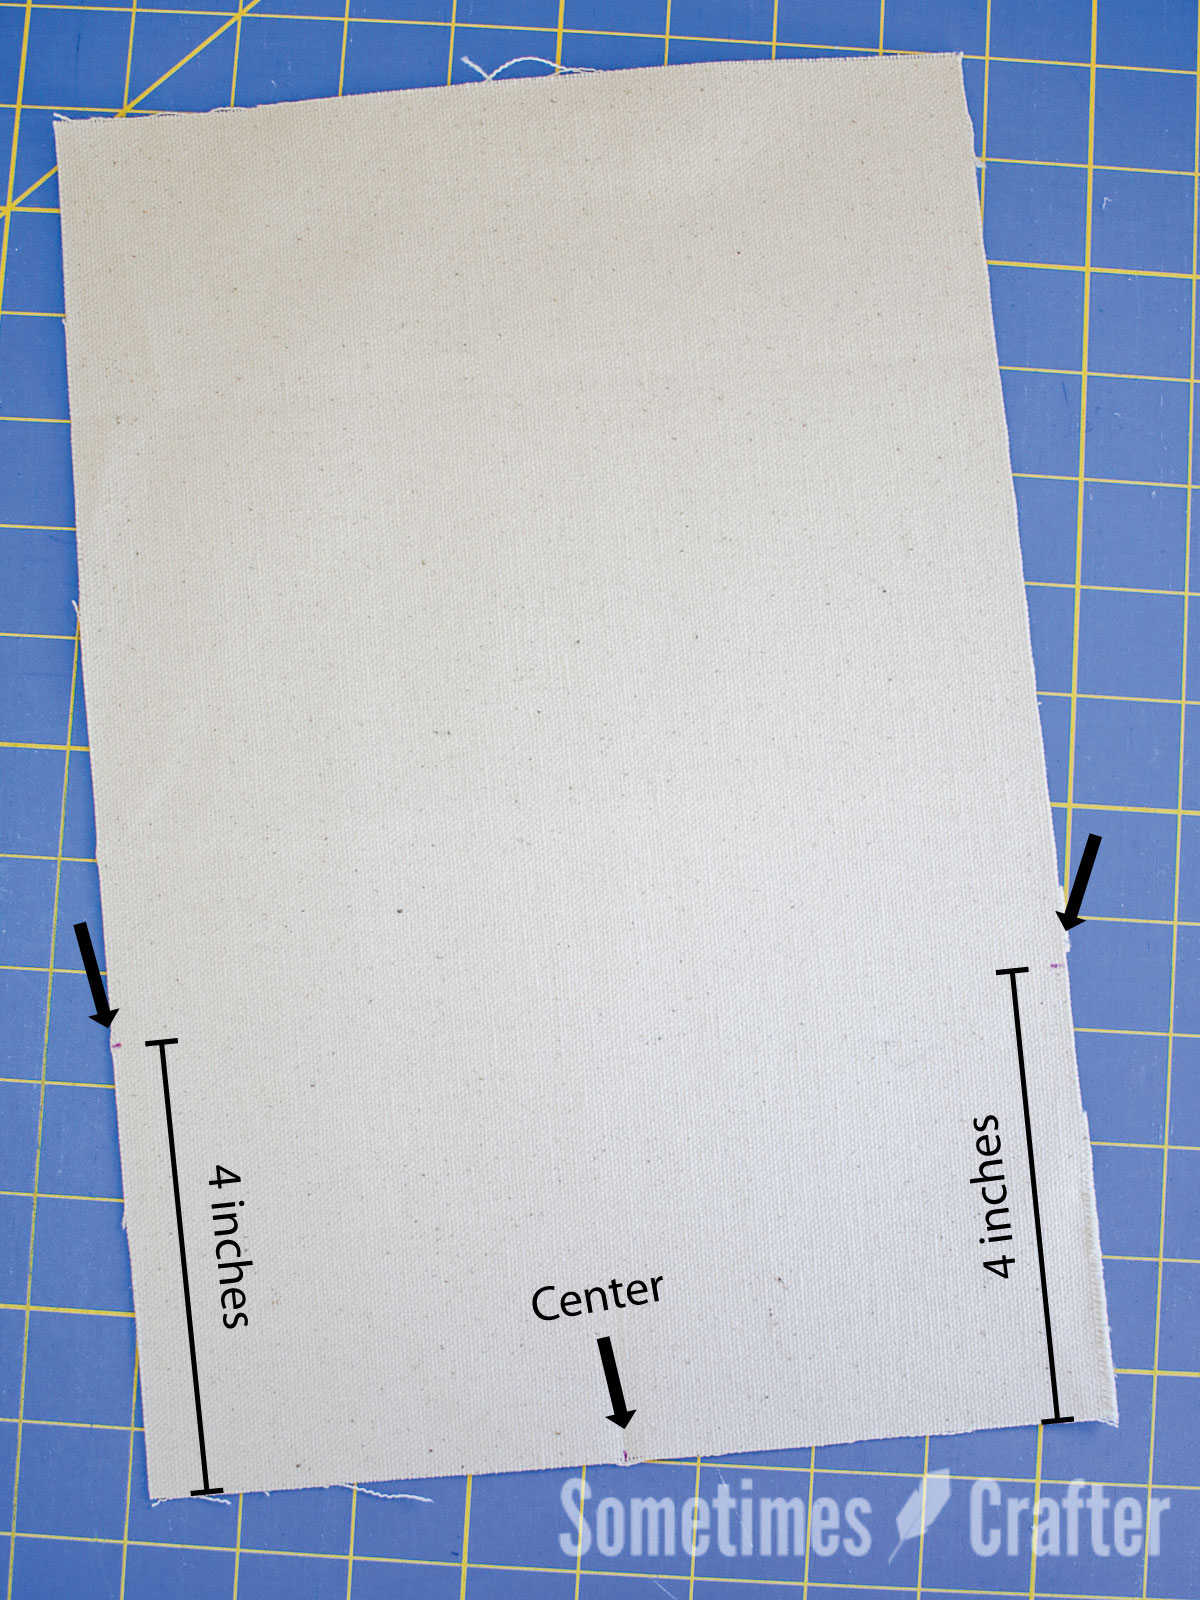
Begin by cutting a piece of canvas fabric 8.5″ x 12.5″ and marked the bottom center, and 4″ up on each side.
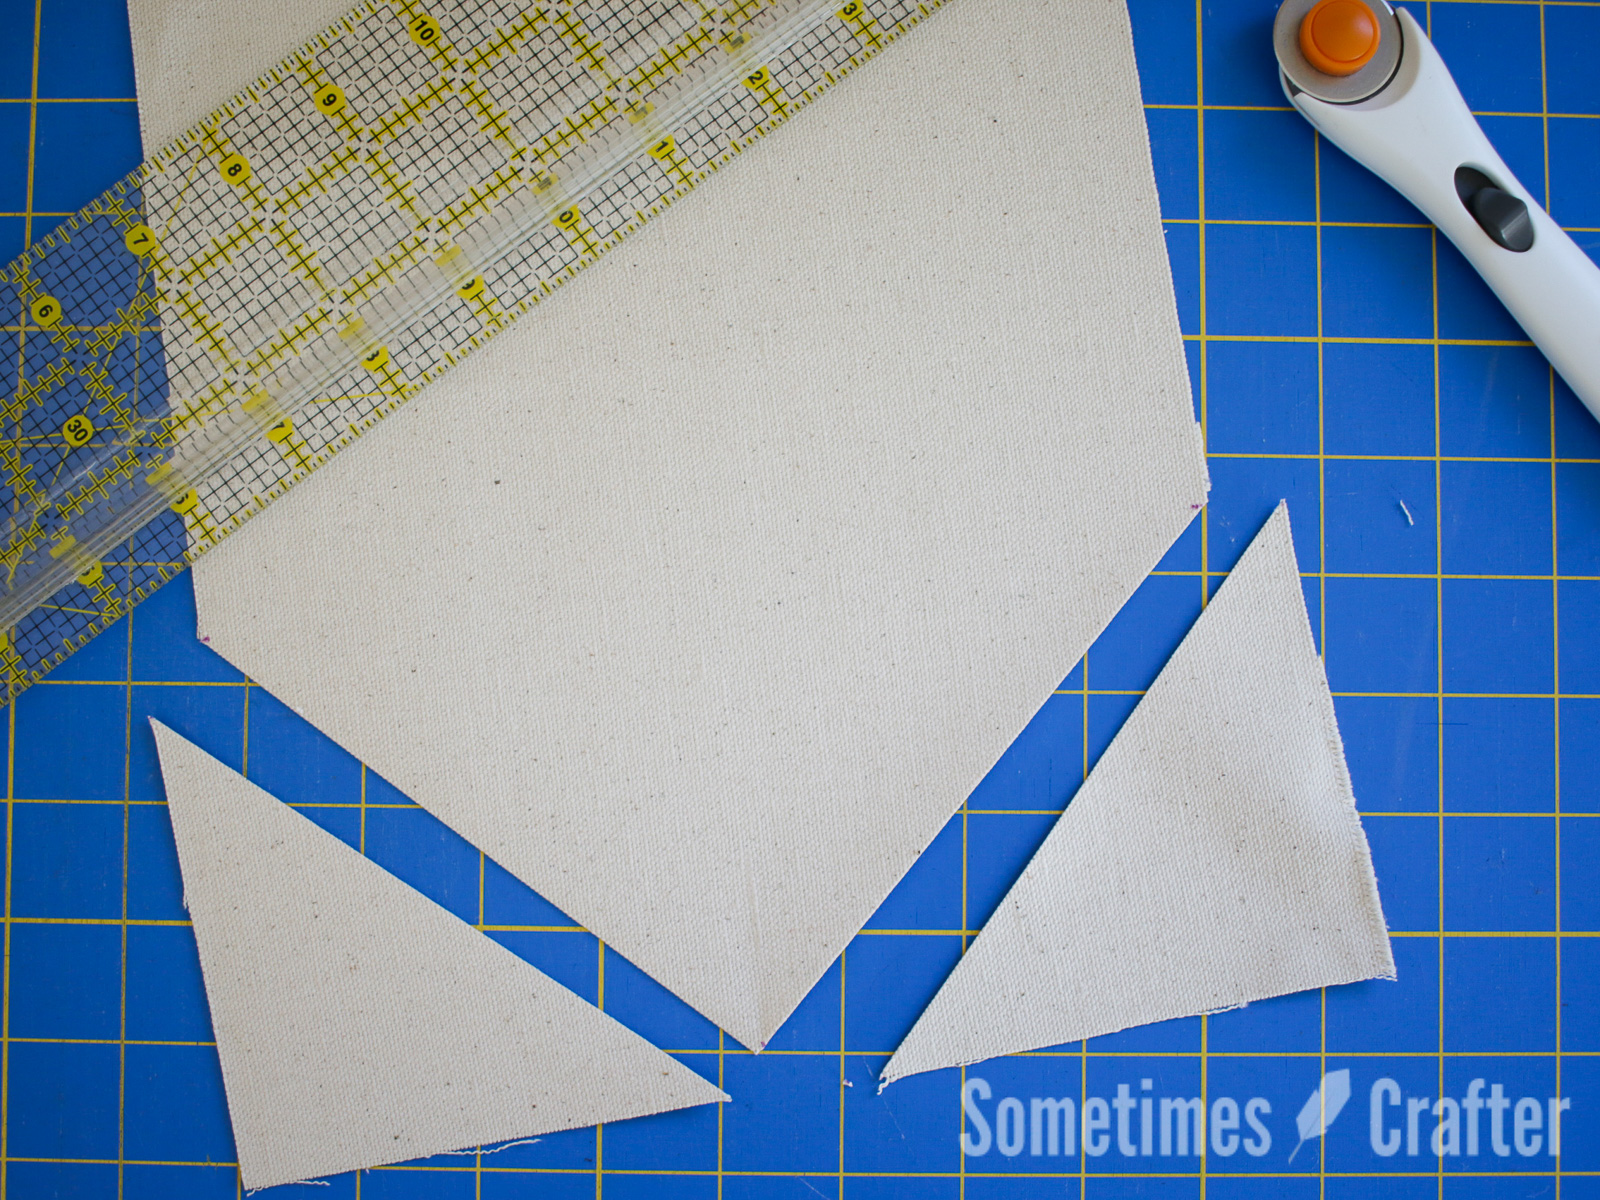
Use a ruler and rotary cutter to cut straight line from the center up to the marks on each side to create the pointed pendant shape. (You could also draw a line with your ruler and then cut with scissors if you don’t own a rotary cutter.)
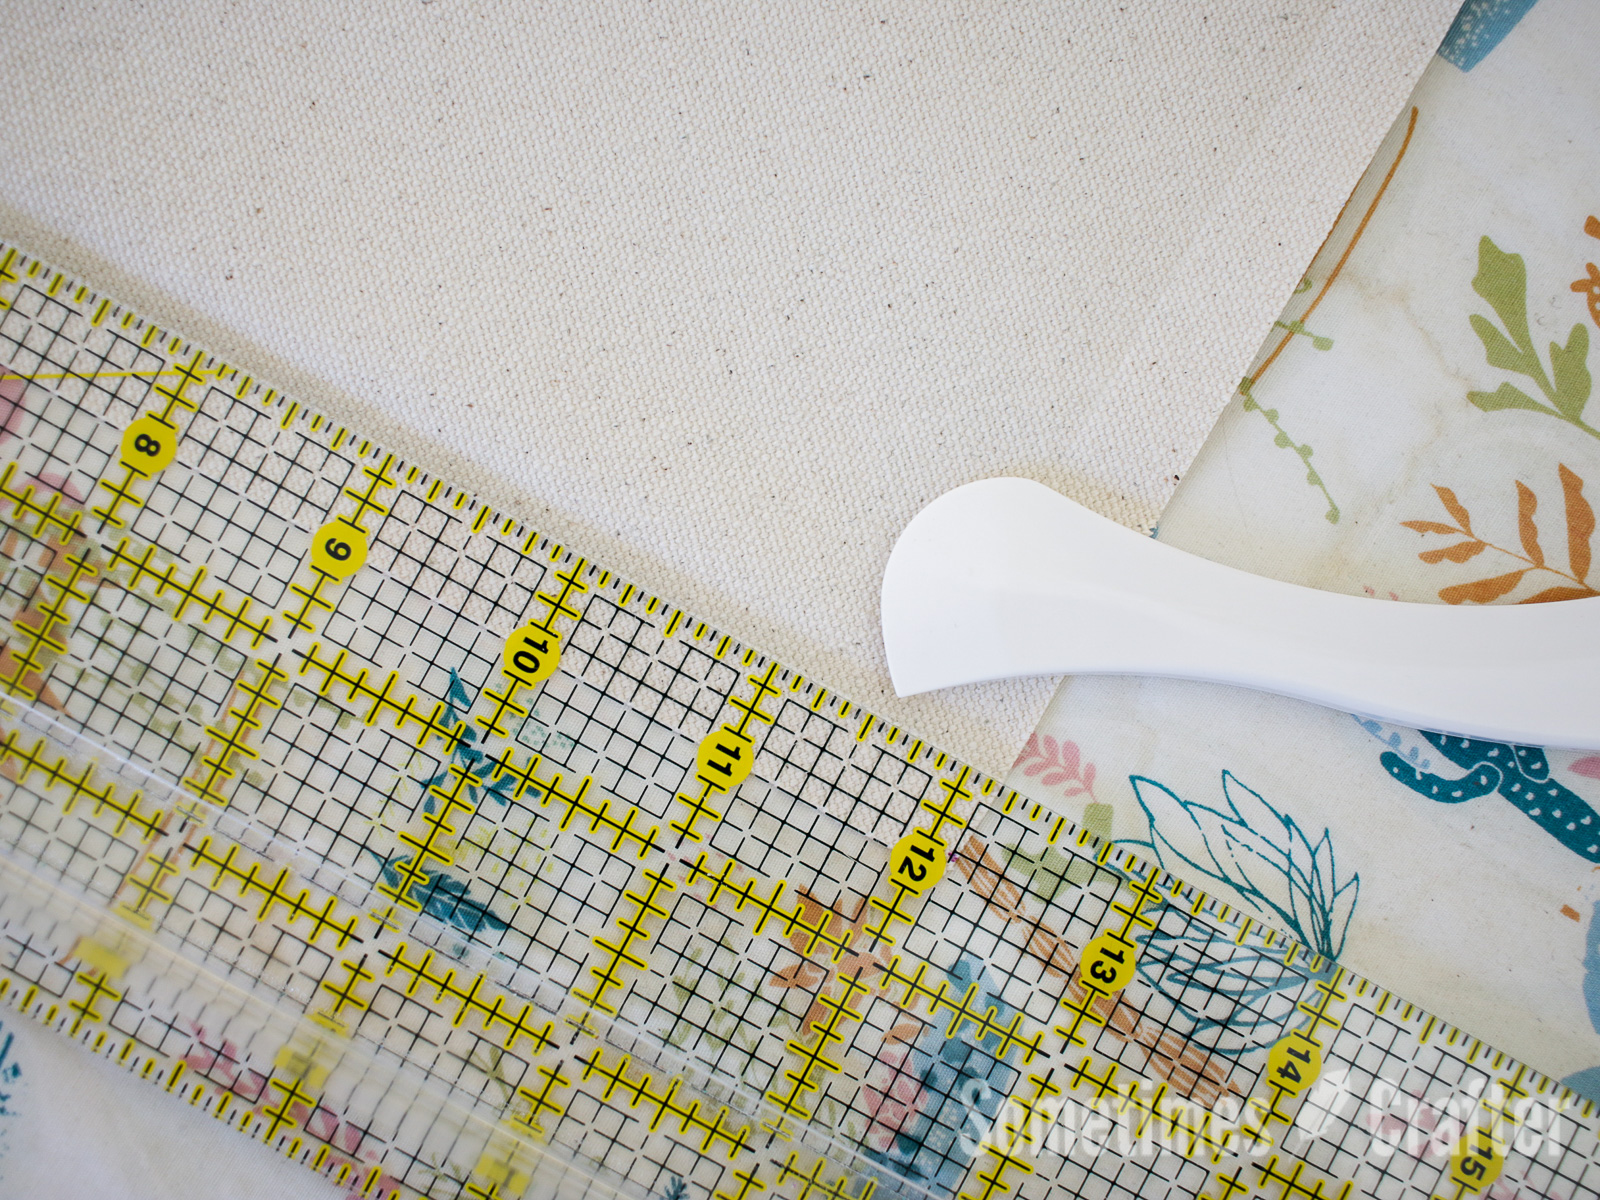
Next you will want to find a way to mark 1/2″ seam allowance on both the sides and bottom of the piece. I use my Hera marker on the ironing board (the squishiness helps to make the mark deeper). The creases created by this help me to accurately fold the seams.

Press the 1/2″ seam allowance, starting at one side and working around. I used my Clapper to keep the fold in place while it cooled. Since the canvas is so thick this helps to keep it folded over once it’s cooled.

Now you’ll want to edge stitch around the piece, roughly 1/8″ from the edge. Don’t worry about the top edge, that will be concealed in the next steps.

Working from the wrong side of the piece, measure down from the top 3″ and place a mark on each side.

Fold the top of the piece over to match these marks. Pin in place and stitch with a 1/4″ seam allowance from the top, raw edge. This creates a pocket the perfect size to slip in a 1/2″ dowel.

Cut a 1/2″ dowel to 7.5″ and glue on finial dowel caps, if desired. I found mine at JoAnns with the dowels in the woodcraft section.

Slip the dowel in to the dowel pocket and tie some ribbon on the ends to hang. Finished size is 7.5″ x 10″.

Update: If you’d like to make this longer sized banner to hold even more pins cut your fabric 8″ x 18″ and otherwise follow all the directions above. The finished piece measures 7″ x 15″. Don’t have a wooden dowel to hang your banner? On this banner I used a piece of driftwood I had saved from a beach trip and I couldn’t be happier with how it turned out!
You’ll notice the back is unfinished seams, but that didn’t really matter to me since it will be laying flat against the wall and never be seen. I really don’t foresee any problems with this in the long run, so I didn’t worry about any lining or hiding of seams within.
I originally shared this quick tutorial on my Instagram and a reader asked about using something like this and the possibility of the backs of the pins scratching the paint (she had just painted her walls). I don’t think this would really be an issue since it’s just hanging in place and not being moved around, but I did mention if she was concerned about it she could always sew a lightweight piece of felt to the back when you’re creating the dowel pocket; just slip it into the seam. I would make the felt just a little bit smaller all around so it doesn’t peek out the sides of the banner. I might also tack it down lightly at the tip of the banner (just through the exposed seam allowance) to keep it in place, but otherwise leave the sides open so you can reach in and pin your pins to the banner. If this is something your interested in doing, and need a little more clarification (and photos) let me know and i’ll whip one up to show you what I mean. In the meantime, no more excuses, get making that pin banner you know you always wanted! They really do go together so quick!