
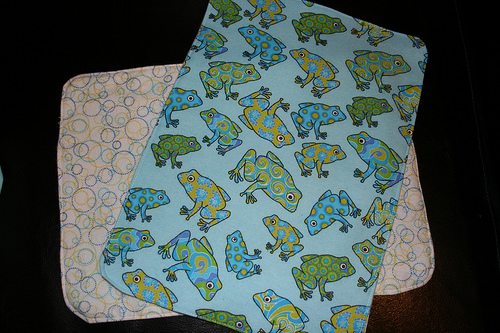
I thought i’d do a quick “how to” on the burp cloths I made the other day. I didn’t take pictures as I went along, but really…it’s so VERY easy! I got a 1/2 yard of two different fabrics for each set of burp cloths. This allows for a contrasting fabric on the back. 1 yard of fabric makes 4 burp cloths.
- 1. Iron your 1/2 yard of fabric (to get out all the creases) and fold it into fourths.
- 2. Cut through all four layers a 10″ x 14″ rectangle.
- 3. Repeat steps 1 & 2 for the second 1/2 yard of fabric. You’ll now have 8 rectangles to make 4 burp cloths.
- 4. Put the right sides together of two different fabrics. If you so choose, round off the corners (this is what I did and can be seen on the finished product above)
- 5. Sew 1/4″ around the edges, leaving an opening on one side to turn it right side out.
- 6. Turn right side out. Iron edges flat, turning opening inward.
- 7. Top stitch around edges. (I just did 1/8″ from the edge with a straight stitch.)
Ta-da! You’re done!
I got this fabric at Joann’s. It was $3.00/half yard. So for $6.00 I made 4 burp cloths. That’s just $1.50/burp cloth. I really like this smaller sized burp cloth. Easy to carry around and wipe up messes.