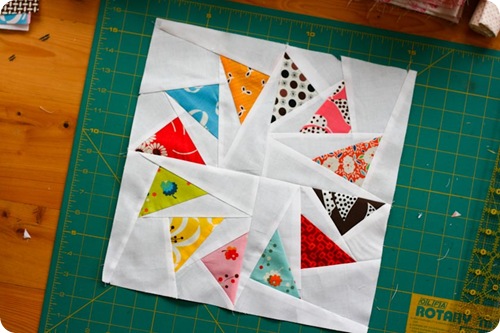
Paper Pieced Block
July’s block has got to be my favorite – both visually and for how it’s pieced. I am far from being an expert at paper piecing, but I’ve done it a few times and can at least get you started. I welcome all of you with more experience to please let us know your secrets and share some links. Because we girls can’t manage to get together in the summer months, this will be what I know to make sure Sarah and Liz can get their block put together. I have plans of doing more of this block in the future, so I’d love everyone’s insight into what makes for easier paper piecing…not that it’s hard. Don’t let anything deter you from trying this if you haven’t before. I know for years I talked about taking a class to learn house, but low-and-behold, there was no need to! It’s that simple! And once you start – you might be addicted. Paper piecing gives you beautiful, perfect points every time!
Directions
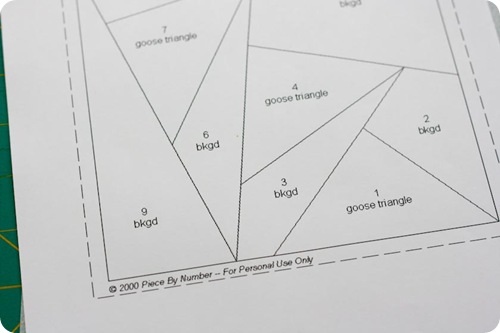
I think the first thing you want to do when working a foundation block is to take a long hard look at it and visualize where your fabric will go. In this case we want to notice that we have prints for our flying geese and solid white for the rest of the print.
1. Print your template on either computer paper or foundation paper (I recommend foundation paper, it’s a thin newsprint). You will need to print four for this block. This block is by Beth Maddocks and can be purchased in her Etsy shop here.
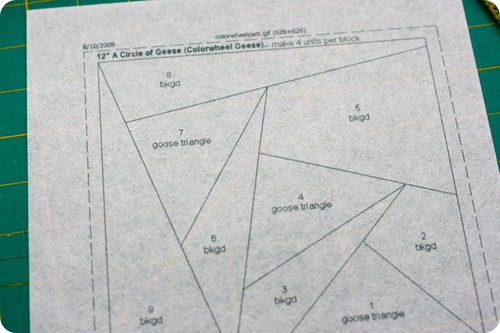
**Note** I made my first block using computer paper and the following three blocks using foundation paper by June Taylor, Inc. [Affiliate Link] It’s kind of like fabric softener sheets, but a little stiffer so it will go through your printer. Supposedly it’s suppose to tear off your fabric better at the end, but I found it just as difficult, if not more so than the printer paper. However, it was great being able to see through it to my fabric to make sure it was in the right spot.
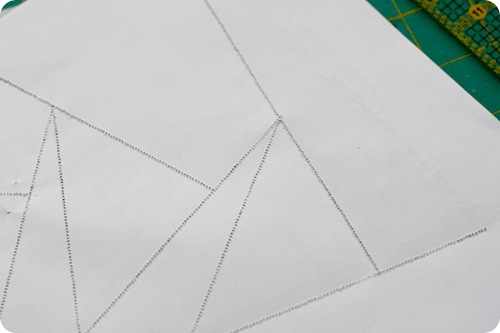
2. If using printer paper, I suggest perforating your lines with your machine (minus the thread) before sewing. Set the stitch length to very small so that later it will tear away easily. Just remove your bobbin and thread from the needle and follow along the lines until they have all been punched. I would suggest doing this for foundation sheets as well.
 |
 |
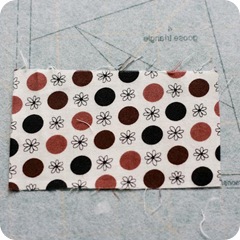
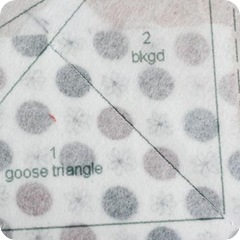
3. With the wrong side of your printed pattern facing up (you can already see where these foundation sheets come in handy) lay your first piece of fabric over the shape labeled “1 – Goose Triangle”. This is going to be your first print fabric. See how it not only covers all of spot one and down into the seam allowance below and beside it, but also into the next spaces (two and three) as well. You always want to make sure you have enough fabric to cover your desired space as well as a little for the seam allowance.
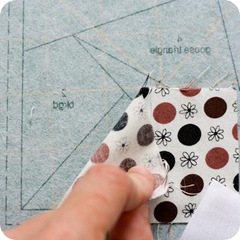
 4. Next, grab a piece of your solid colored (in my case white) fabric big enough to cover space #2. Lay your fabric over the space to make sure you have enough to cover it and to give you some for the seam allowance.
 |
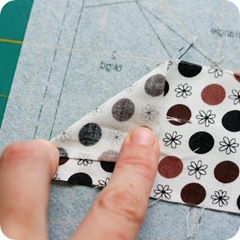 |
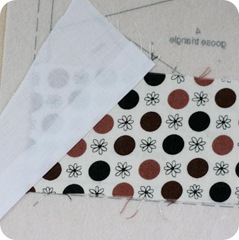
5. Now I like to prep my piece for sewing. I am going to be sewing on the line between space 1 and space 2, so I like to take my fabric and finger press it a 1/4” past the line.
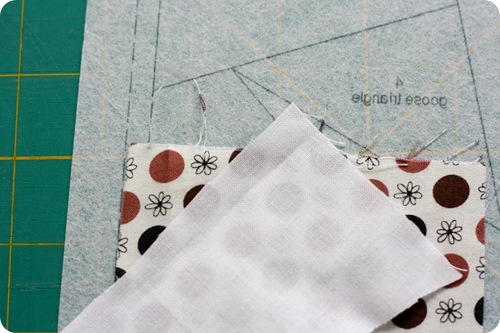 6. I then finger press a 1/4” in along the side of my white fabric where I will be sewing and nestle that into the finger pressed fold of fabric 1.
 |
 |
7. Flip fabric and foundation paper over carefully and stitch along the line between space 1 and space 2. I used a very short stitch length here, but that still didn’t help me pull this away later.
**Note** I recommend pinning in place the first time around. You may also choose to use a fabric glue stick to help hold the fabric in place. Make sure you use a fabric glue stick, as I have heard a regular glue stick will cause the fabric to turn brown. I suppose if you plan on washing this right away, that probably wouldn’t be a problem.
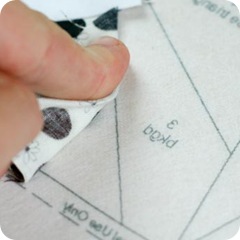
8. Flip back back over to fabric side a press fabric 2 back from fabric 1.
 |
 |
 |
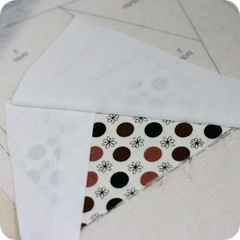 |
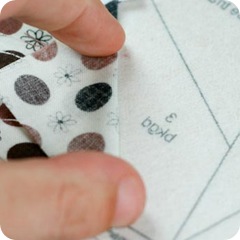
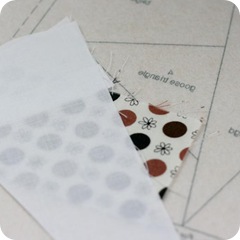
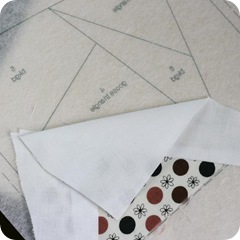
9. Repeat the same process for attaching fabric 3 to fabric 2. In these photos I’m pressing my fabric to match the fold, meaning I will want to make sure it continues 1/4” beyond that at least.
 **Note** After I’ve sewn down a piece, I like to go back and trim the seam allowance back to a 1/4” so I don’t have a lot of overhang. When using a white fabric, a lot of what’s underneath will show through, so trimming back helps it to stay tidy.
 |
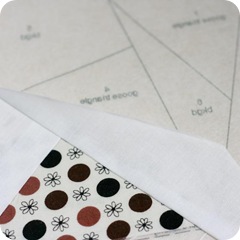 |
Sometimes, I will trim a piece before I sew it down. I use this same method of folding back and finger pressing and then cut along my 1/4” line. Or, as in the four photos above in step 9, I will trim 1/4” past my fold line.
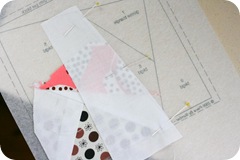
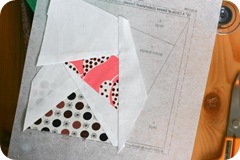
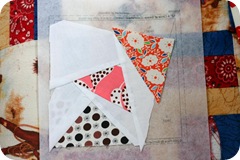
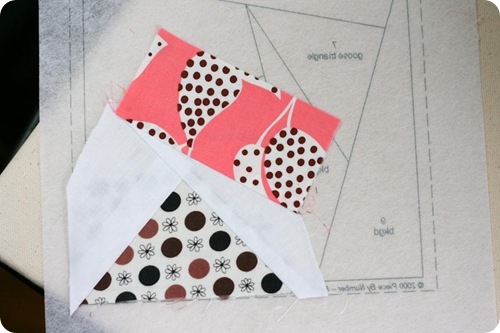 10. Attach fabric 4 to fabric 3, again sewing on the line between these two spaces.
 |
 |
 |
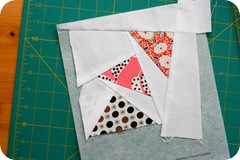 |
11. You get the point, keep attaching fabrics in numerical order, sewing on the line between your two fabrics, in numerical order: Fabric 1 + 2, Fabric 2 + 3, Fabric 3 + 4, etc… And ignore the fact that the first photo shows that I started to attach fabric 6 before fabric 5. I fixed it before I got sewing, luckily.
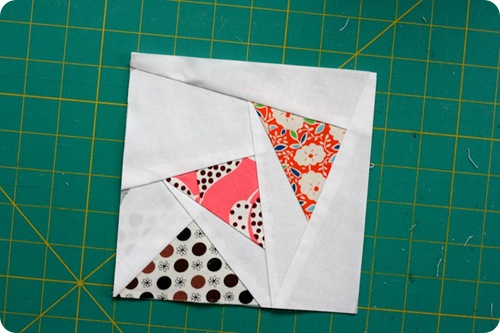 12. Trim your block, in this case, along the dashed line.
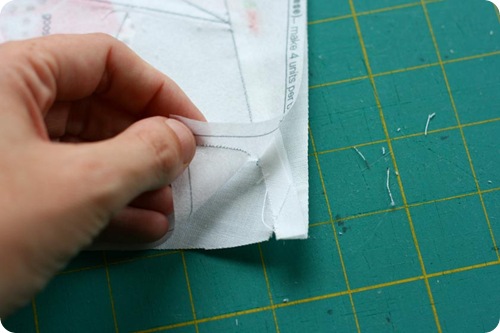 13. Flip over your piece and begin tearing away your paper. Pull gently. With this foundation paper (unperforated) it would pull at my seams and begin to pull fabric away from each other where I hadn’t backstitched.
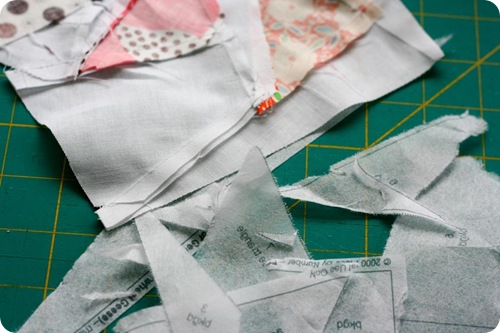
14. Pat your self on the back. You’re done with your first…now you have three more to make! But don’t worry – after the first it goes much faster!
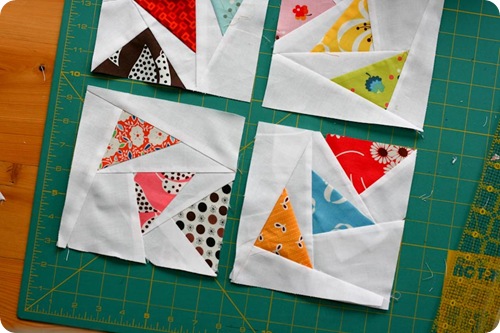 15. Once you have all four blocks made, trimmed and pressed, attach them to each other in the circular pattern.
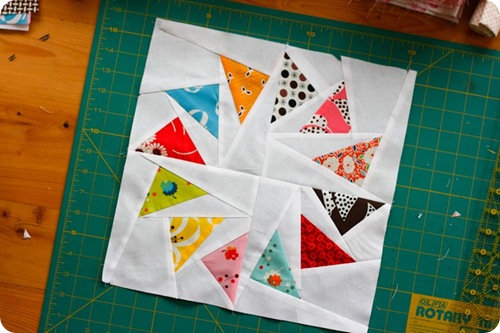 16. Trim your block to 12-1/2” square once that is complete. Hmmm…couldn’t you just see those white fabrics in the center being a different color from the white fabric along the edge? Wouldn’t that be striking!
Make sure to share your advice and links with everyone in the comments! And please, if your joining us, share your blocks in the Flickr pool so we can all enjoy!

