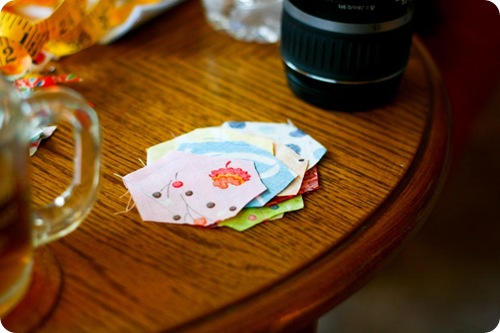
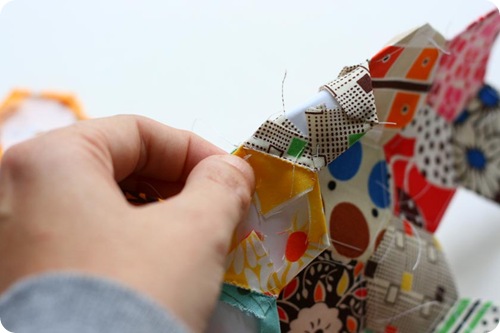
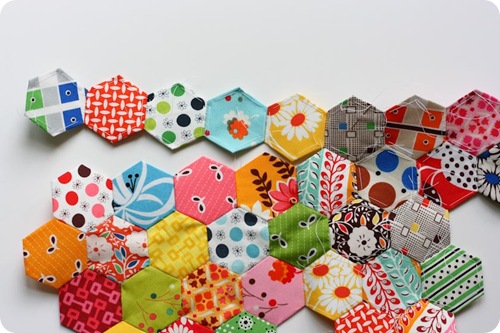
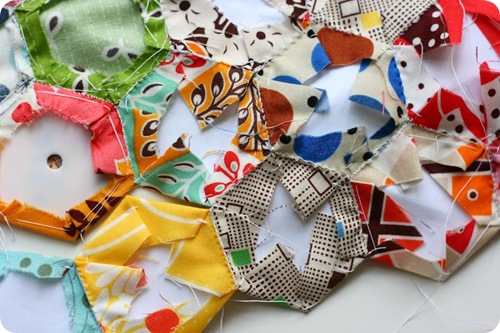
I tried just about everything I could think of with these hexagons. Different papers, different stitches, different methods of attaching… So I wanted to share all of this with you to let you know what I thought of each method. And, this would be a great post for all of you to share your insights, too!
Preparing Fabric
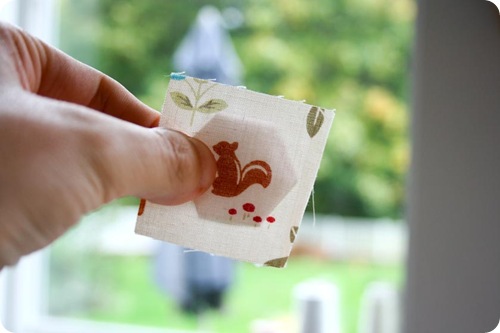
I first went with the suggestion to cut my fabric hexagons in the shape of the hexagon with a seam allowance. It got old drawing the lines around my hexagon and then cutting a seam allowance around that.
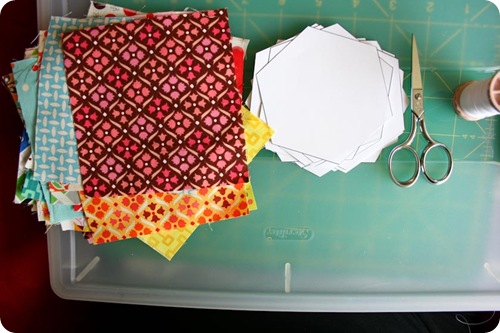
Luckily, I was researching for these posts and remembered Alicia’s post on hexagons, I read it again and saw she was using squares (I only get to skim blogs and look at pictures sometimes). So now I only use squares. She referenced the website Paper Pieces and on the right side of the webpage is a link to a hexagon cutting guide (but if you follow this link, it will take you to the page where you will find a link to it at the bottom). This guide tells you how big to cut your squares based on the size of your hexagon. I’m telling you, this makes life SO much easier. And I think the back is prettier looking.
Paper Pieces
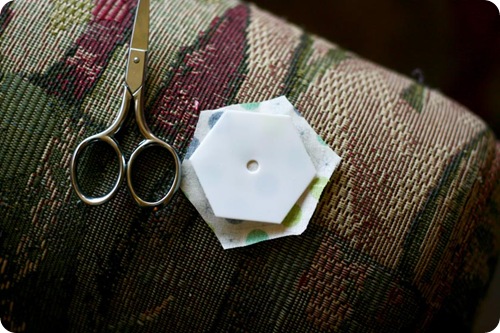
My first hexagons I used were actually not paper, they were Teflon. I found a package of these at Joann’s and thought it was a good idea. I like that they were slick and easy to remove from the fabric and that they were reusable. Very green. I like to be “green” if I can. What I didn’t like was how you had to stitch the corners of them to keep the fabric in place. I found I had to double stitch the corners to keep them down (rather than working the hex backwards, which was too much for my brain) and therefore harder for me to remove the basting thread later. I also didn’t like the fact that they were thick…thicker than paper anyways. I don’t know why that mattered to me, but it did.
Next I moved to regular paper piecing, as explained in my tutorial. Let me tell you, this went SO much faster. While the hexes wont be reusable for long, I think you could get 2 or three uses out of them. I created a 1” hexagon sheet and went to town cutting them out myself. I know I could have bought them, but everyone locally was out of the 1” size when I was looking, and really, I didn’t mind cutting these out. Took no time at all.
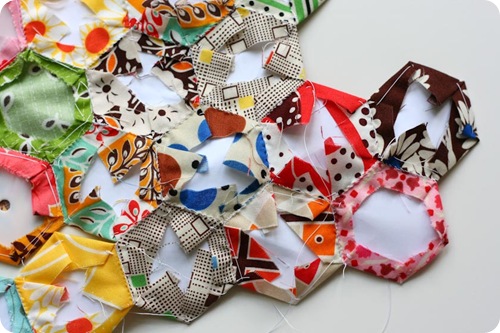
My next thought was to try freezer paper. I cut my freezer paper down to 8.5” x 11” and got it as flat as I could and fed it through the printer. The printer didn’t really like it on it’s own, but I got it to work well enough. This was awesome! I could iron these down to my pieces and not worry about the fabric shifting on me while I was sewing, thus leaving me a little short when I got around the hex. I had that happen a few times, but made it work. I worried that there would be a problem with missing the freezer paper when stitching together my hexagons, but it wasn’t an issue at all. And best of all, once I removed the basting thread, the papers just fell right out of the fabric.
Another reason I really liked using the paper was for how easy it was to keep the paper hexagon in place and still sew together my multiple hexagons. The paper allowed me to bend the adjoining hexagons when I sewed my rows together. With the Teflon, I had to remove it before I could do anything, or bend it and make it work. That didn’t really work so well. But the Teflon is slightly pliable. You could try using a glue stick, but make sure it’s a fabric glue stick as I’ve read regular glue sticks can brown the fabric over time. I didn’t try this, but this could be a great option, too!
Stitches
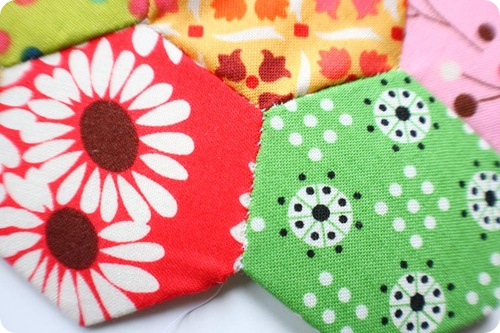
The standard for connecting hexagons is the whip stitch, but I found if I didn’t pull my stitch tight enough on the back, or keep them close enough together, when I flipped it over to the front I could see my stitches. It looked sloppy. So I thought I’d try a couple of different stitches.
 |
 |
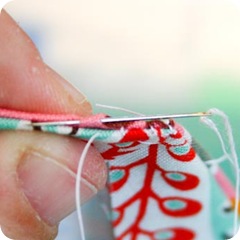
First I tried the ladder stitch. This worked great for keeping my stitches hidden and on the front it looked good. But not great. You could see the ladder effect on the front where the fabric connected to each other. While it was clean looking, it was kind of odd. Also, it was a bit of a pain to work this stitch, not as fast as a whip stitch.
 |
 |
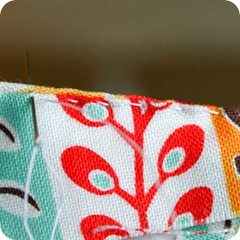
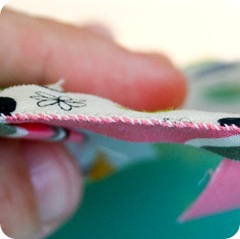
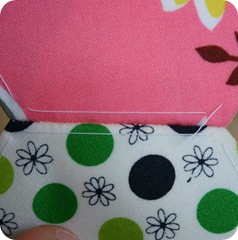
Then I decided to do a running stitch. I went in from the front to the back and then from the back to the front and pull my thread full through the two stitches on this return stitch. This went very fast. And it looked great from the front. So I had my stitch. I still worked the corners the same as the whip stitch, stitching through it twice to secure. The biggest downfall of this stitch is not being able to secure loose ends of thread as with the whip stitch. Doing the double stitch in the corner, on my second stitch I would just slip the needle through the second stitch before pulling it tight and this created a nice knot for me. This is the stitch I ultimately used and liked.
 |
 |
If you do decide to stitch with the whip stitch (it is a quick stitch) just make sure to keep your stitches close together and pull your thread tight as you go along to give a clean look on the front of your work.
Assembling
I played with a few ways of assembling the hexagons. If will of course depend on the type of hexagon project your working, but there are a few directions to consider.
First I just did random piecing. I just started adding hexagon to hexagon, keeping it somewhat even, but no real direction.
The I tried assembling the flowers, that is to say, one hexagon in the center with a hexagon on each of its sides. Now, if you will be doing hexagon flower projects, this will of course be the way you’ll want to assemble them. There are two ways to approach this. You can stitch all the hexes to the center hex first, and then stitch those hexes to each other after that. By connecting the hexes to the center hex first, you can keep a constant running stitch. When you go to connect the sides you will have to do each side individually, knotting at the end to secure. You may choose to connect two hexes to the center and then connect them to each other and continue on in that matter until you’ve worked around. Again, you will have stopping points where you have to knot and start again, but it’s all even in the end.
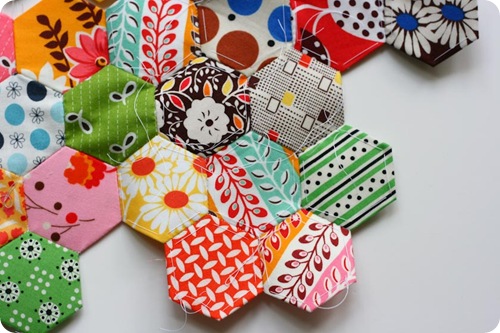
Because I wasn’t doing flowers, but a “square” of hexagons for the block, I choose to sew rows of hexagons and then sew those rows together. Sewing the rows together went very quickly, mainly because I didn’t have to start and stop my stitching. I just continued from one hex to the next down the row. You could also do this for the flowers, you would just want to have your hexes assembled and laid out before hand so you can place everything accordingly.
Resources
I came across lots of helpful sites while reading up on Hexagons. I’d like to share them here and if I come across any new links in the future I will add them as well. Let this be your hexagon resources post.
1. Posy Gets Cozy – Hexagon Piecing (Writes about her experience in hexagon piecing)
2. Postcards From Panama – Hexagon Quilt Tutorial (suggests using glue stick)
3. Craft Passion – Basic Hexagon Quilting Tutorial (links to hexagon pincushion project)
4. Thimble Blossoms – Hexagon Quilt Tutorial (Great tutorial and photos)
5. All Buttoned Up – Oh snap! That girl doesn’t baste. (Awesome alternative to basting)
6. The Jax Collection – Traditional English Hexagon Patchwork Demonstration – Video 1 and Video 2. (Great videos demonstrating how to make and connect your hexagons)
7. Incompetech – Hexagonal Graph Paper PDF Generator (generate your own hexagons in any size you need)
8. Paper Pieces – Hexagon Cutting Guide (how big to cut your squares of fabric and also a great spot to buy paper hexagons)
And that’s what I’ve learned so far. I have some more ideas, but we’ll have to wait to see what comes of them. You can be sure I’ll share more as I learn more. I hope that all of this information is useful to you and that you find something to make piecing these a little easier for you. Happy hexagon sewing!
————————————
The following links have been added after the original posting:
9. Texas Freckles – Hexagon Fussy Cut Template (A how-to for creating a template)
10. Modern Handcraft – A fun project to make with your hexagons – Machine Stitched Hexagons
11. Ellison Lane Quilts – A great video tutorial for making your hexagons with the back basting method (i’m a convert now).

