Travel Sewing Case Add-Ons
It’s my turn today for a Travel Handmade post! As most of you know, I’m teaching a curves class at this years Sewing Summit and never has my travel sewing case been more needed. I decided to make a new one, as my old one has seen many years of use. This is not a new pattern to me, I have made it at least half a dozen times by now, because of how great the pattern is. I’ve made many for gifts and a few for myself.
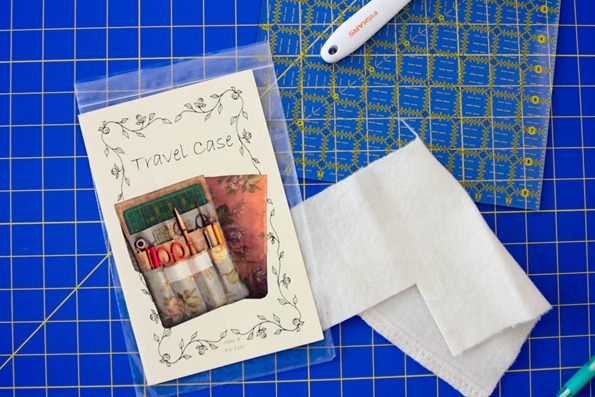
The pattern is by P3 designs and can be found on her website to purchase (and also in your local and online quilt shops). The pattern is very well done with photos of the steps and very clear instruction. It’s one of my favorite pattern designs, and very easy to follow, as well as extremely well written. It’s the perfect item for sewing summit, as it will hold a small rotary cutting mat and cutter, as well as all of your tools you might need.
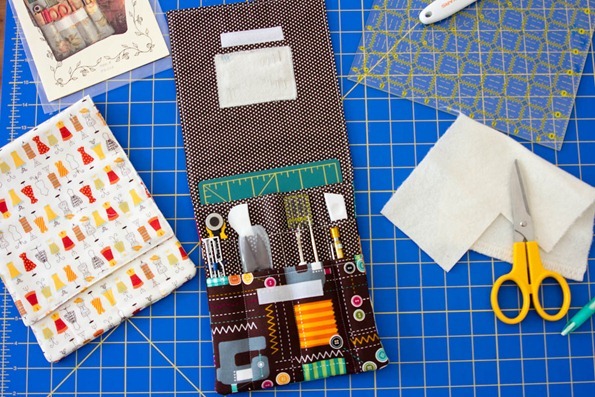
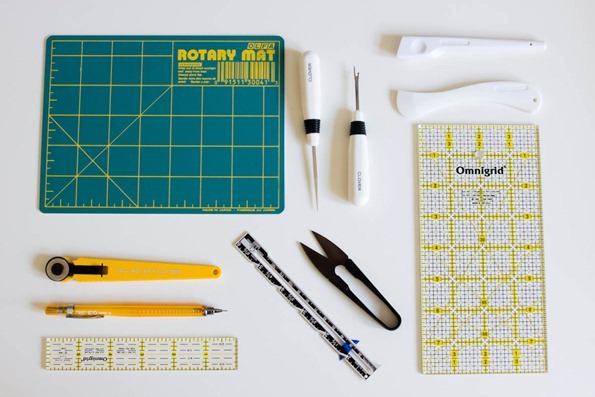
Here are the tools I was able to fit inside of mine (as seen in the first photo). That’s a lot of tools!
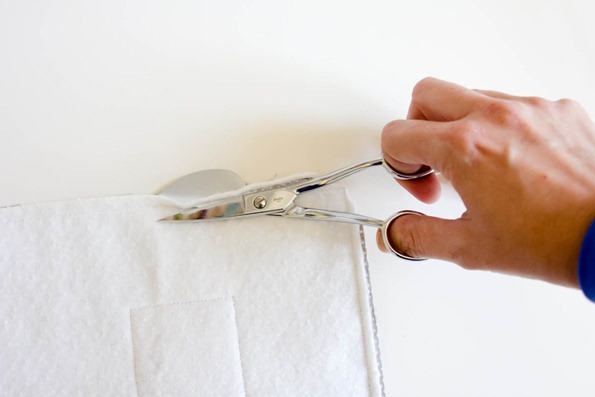
I do have a few recommendations when making this pattern. First I suggest trimming the excess batting out of the seam allowance before turning. It takes just a minute to do and makes for much less bulk and a nicer finished project. I like to use my Gingher applique scissors, and incase you were curious as to how to use them, this is my preferred position for holding them. That “paddle” helps to keep the fabric down and out of the way while cutting. You can also hold them as you would a traditional pair of scissors, and that sharp tipped end is really great for getting a close cut as well. But I thought you might like to see why they have that funny bend.
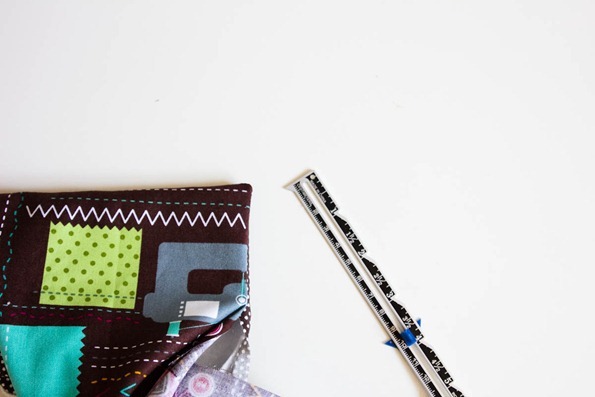
My other recommendation is to use a point turner to help push those points out. Did you know the pointy end of your seam gauge is for doing just that? Handy little thing!
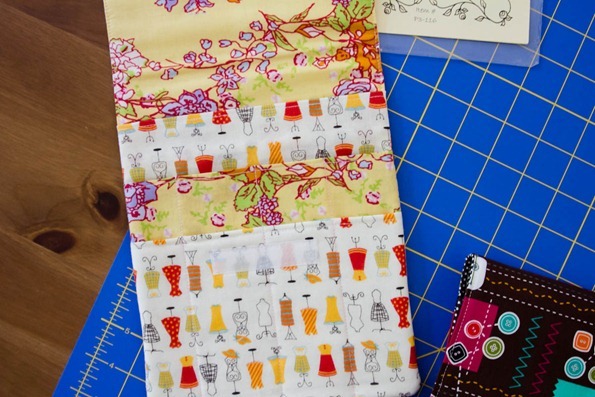
I made two cases, but on the first one I made with this great Japanese dress form fat quarter I’ve had for a few years. I paired it with some of Bari J’s fantastic floral fabric. I forgot to put in a little piece of felt on the top flap for my needles, so I just made another one.
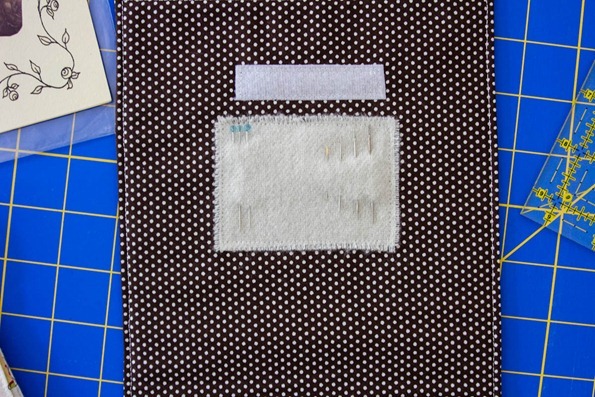
This isn’t actually part of the pattern, but I really love having a designated spot to stow needles, so be sure to top stitch that into place before doing final assembly of the piece. I like to layer the assembled lining and pockets with the batting piece, and then top stitch it in place. It’s honestly not needed, as you can put needles right into the top flap, I just like it to be a little more organized with a designated spot. Also, the white wool helps me to better see the needles and know right where they are so I don’t poke myself.
Finally, after I sewed on my Velcro to the top flap, I didn’t like that the stitching was showing when closed, so I went ahead and stitched on some measuring tape ribbon to help disguise that. In a perfect world I would have thought to stitch the Velcro on when I did the wool for my needles. Next time. I love this little travel sewing case, and as I said above, I’ve used my other one for years now. It’s perfect for travel, holding exactly what I need, and I’m looking forward to taking it with me to Sewing Summit this year!

