Tutorial :: Improvisational Block
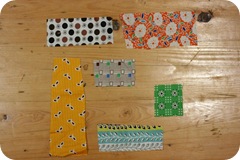
Today’s tutorial is not the same as the last tutorials. There is no direct way for me to tell you all how to do your improvised block, I can only lead you in the direction to free form sewing your pieces together. I created my block and at the end was very happy with it – but let me tell you, part way through I wasn’t liking it. But I just stuck with it and I’m glad I did. So the directions in this tutorial will simply explain how I went about piecing my block.
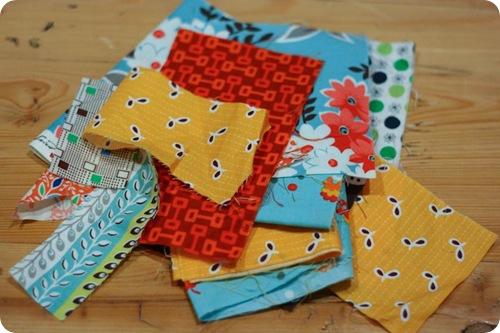
First things first, go grab some fabric scraps. If you don’t have any, make some. Just cut some random pieces from your fabric.
Directions
 |
 |
 |
 |
1. First I decided on what pieces I wanted to start with, knowing that I would add in more as I went. But I wanted to have a good foundation of scraps to start with. At first I thought I’d lay them out in a general idea of how I wanted the block to go, but then realized that wouldn’t last for long.
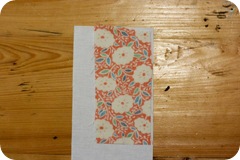
2. I chose my first piece of fabric and decided to sew it to a white scrap I had.
3. Then I sewed it in place and pressed it open. I decided to trim my white, as it was a little on the “thick” side.
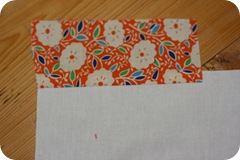
4. Next I added white to the other side and then (not pictured) added it to the top and bottom as well. Squared it up some (nothing to perfect) and went on to my next piece.
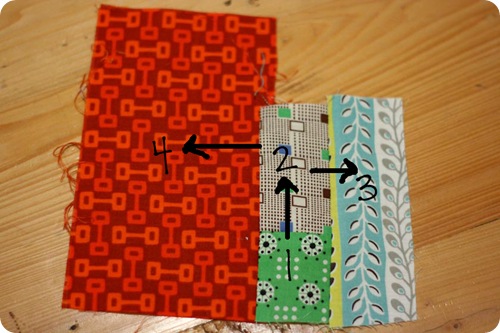
5. For my next set of pieces, I decided to sew together a bunch of the prints, no white yet. First I sewed the green to the brown, then I sewed that to the vine and lastly I sewed that piece to the orange.
 6. While that was nice, it wasn’t done yet. I trimmed the orange and added on the gold sprouts. Then I added white to the gold sprouts and finally white across the yellow-orange end.
7. I decided to sew this to my first piece, so that I would have another white on one side of the block. At this point I thought I might have it all encased in white as well. But, decided to work on another block to add in.
8. The brown dot block was made similar to the orange flowers. I sewed pieces of white to either side and then each end. This time I chose to leave the one end long so that it would fit my main piece. With all those fabrics, it needed a little more white.
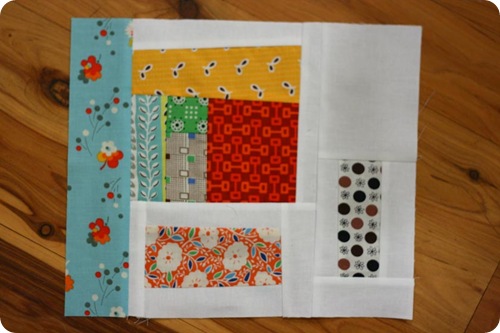
9. After sewing the brown dot to the block, I decided to add the blue flower print. Originally, it was a lot wider, but I trimmed it down, thinking it was a little too much.
10. I then added white where I trimmed away some of the blue. This was looking more balanced, but now it was TOO much white.
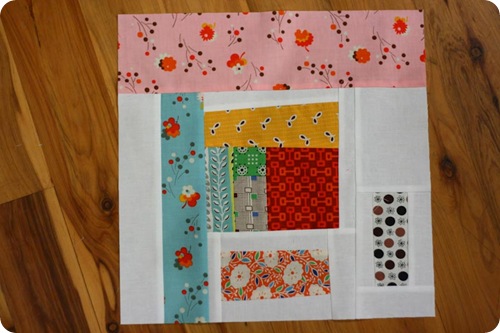
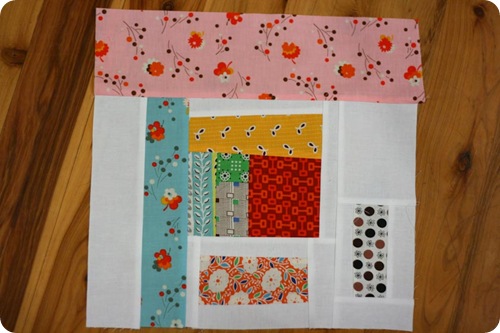
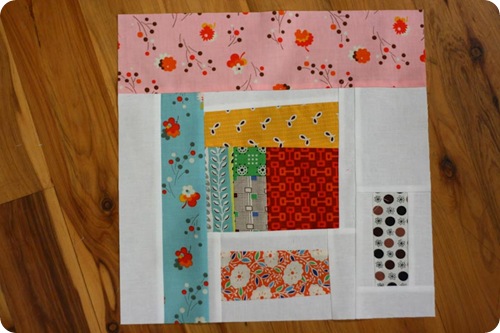
11. So some pink flowers were in order. That just balances out nicely. Of course my next order of business was to trim it up to 12 1/2” square.
And isn’t it a lovely block?
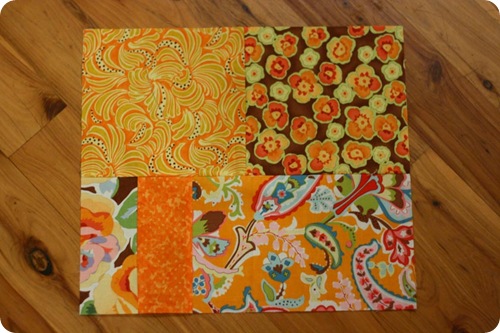
My mom decided to do her block with only the fabrics she’s been using so far. It’s simple, but still improvised and lovely!
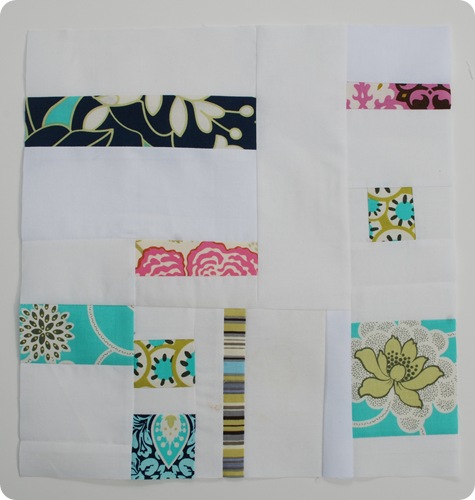
Liz also added white into hers. Remember, she had to cut some “scraps” for hers, and I am just loving how it turned out. The fabrics really work well with all that white!
It’s so hard to explain something like this, since it’s all individual and something you’re just going to have to go for. Give it a try, and see it to the end, I’m sure you’ll be happy with the end result.

