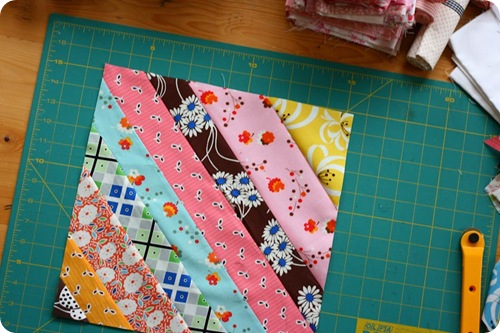
String Quilt Block
Here it is – our August block for the Sampler Quilt Along (see sidebar for links). So this tutorial has been done a lot. And it’s a nice easy block. I really hate to do a tutorial that has already been done so much, but maybe I do things a little differently and I want to present every block for this sampler quilt in one spot. So, I’m going to kind of breeze through it (because it is simple) and give you some links to other great tutorials out there at the end. We all learn differently, and maybe this tutorial will be the “Ah-ha!” moment you need to try it out.
Directions
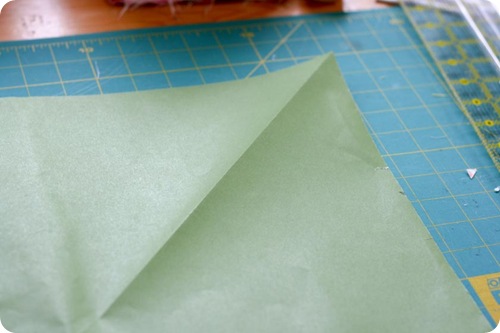
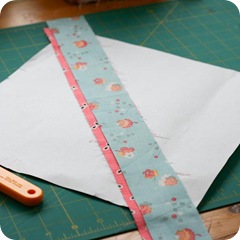
1. I started out by grabbing a 12 x 12 piece of scrapbook paper I had laying around, in a color I wasn’t too fond of. I then folded it in half along the diagonal to prep it for my first piece.
 |
 |
 |
 |
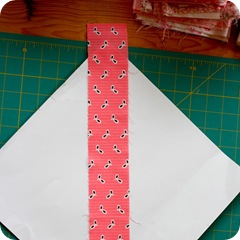
2. Grab your first strip of fabric, any width you want, and make sure it covers the block, centered along your folded diagonal line, and overhangs each corner by at least a 1/2”.
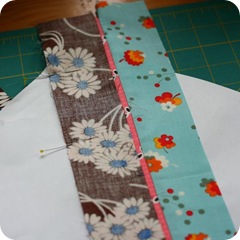
3. Grab a second piece of fabric, again long enough that it will overhang the edges by 1/2”, and lay it right sides together with the first fabric, matching up the raw edges. Pin in place.
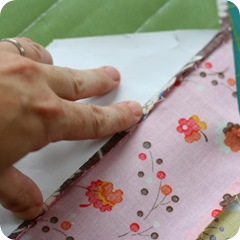
4. Sew it down and then press open. I used a very small stitch length to make for easy tearing away of paper later.
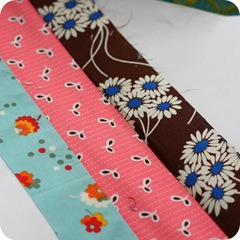
5. Now, working on the opposite side, grab a third strip of fabric, lay it right sides together with first (center) fabric, matching raw edges and pin in place.
6. Sew it down and press open. (Photo was taken with block rotated, but you get the idea.)
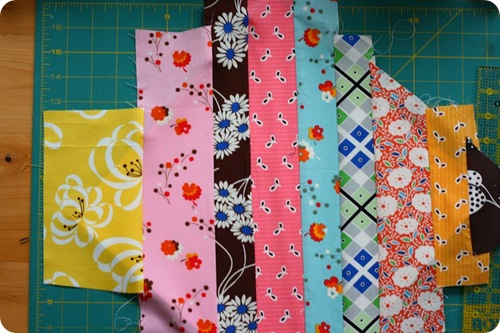 7. Continue this process, alternating sides or working on one side at a time until your block is complete. I stop pining my pieces after I get that center piece secured with the first two fabrics on either side of it.
**Note**I don’t pay attention to my widths, I like them to all be different, I just make sure all of my pieces over hang the edge of my 12 x1 2 sheet of paper by about a 1/2”. For this block I just grabbed whatever scrap was in my pile and fit.
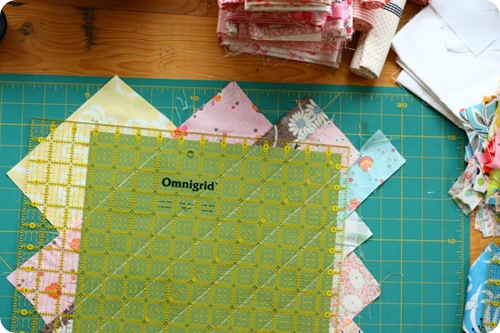 8. Once all your strips are sewn down, flip over your block and square it up to be 12-1/2”. I made sure to leave a 1/4” beyond the paper on each side.
**Note** I did this by lining up the quarter inch mark of my ruler along the top and right side of my piece of paper. Trim. Then I rotated the block to trim the other two sides, lining up my ruler’s 12-1/2” mark along the bottom and left side of my trimmed sides of my block (just incase the paper wasn’t exactly 12” square, which it wasn’t…it was slightly off.)
 |
 |
 |
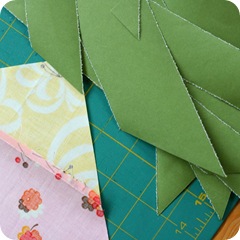 |
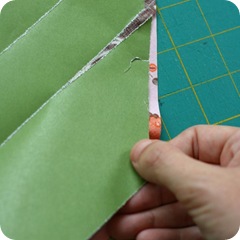
9. Tear away your strips of paper. If you used a small stitch length, this should tear away very easily.
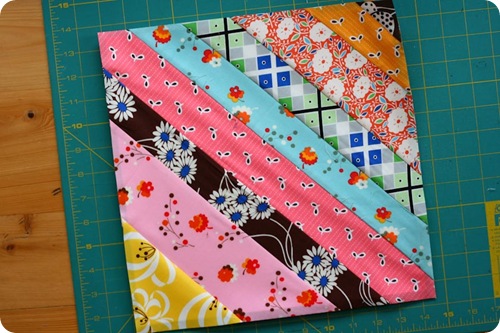 And there you go! You’re all done! How easy was that! And here are some more great tutorials from other bloggers out there:
Film In The Fridge: A String Quilt Block Tutorial – Paper Pieced Method
Craft Blog (Australia): String Quilt Block Tutorial
Happy Things: Foundation Pieced Strip Quilt Tutorial (on the straight!)
Quiltville: String Quilting Primer
P.S. I Quilt: Block O’ Strings Tutorial
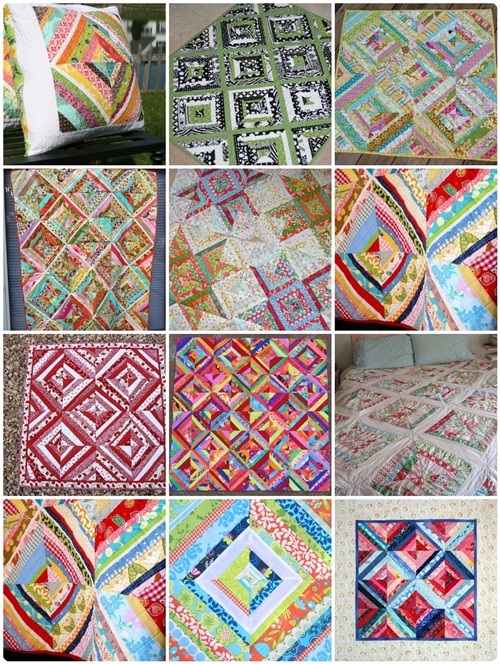
And here is some great inspiration to get you motivated:
And let’s not forget these either:
Kindred Crafters (by Donna)
Cluck Cluck Sew (Allison – did you finish this yet?)
Sewtakeahike (A few great blocks)
Simple Things (A quilt AND pillows)
As always – if you have questions please feel free to ask in comments or email me! And please consider adding your photos to the Quilt-Along Flickr Group!
——————————————————————————————————-
Update 9/4/2009 – I just realized the Mosaic doesn’t link to all of the great string block inspiration! I’ve fixed that now. When you click on the photo you will be redirected to my photostream on Flickr where you can click on the individual links. Also, I had a repeat block in this photo – so if you click over to the photostream, you will see a new inspiration quilt in the bottom left corner.

