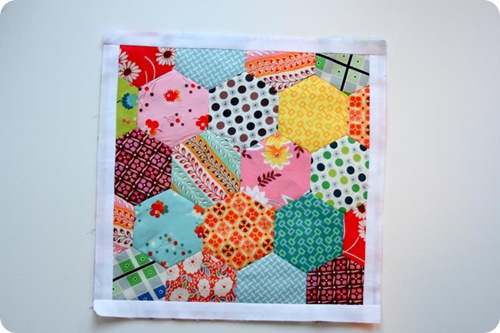
Hexagons Tutorial
October’s block of the month is hexagons. A warning: these things are addicting! I’m going to give a quick run down of how to make the block here, but for a more informative discussion on hexagons and everything I tried, please see my separate post on “Adventures in Hexagons” next posting. There are many ways to make your hexagons, but the purpose of this tutorial is to learn the English Paper Piecing method.
Preparation
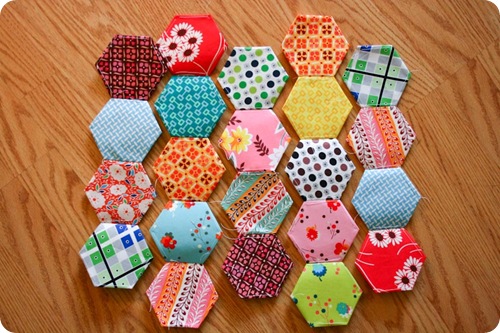
1. Download the 2” Hexagon Template and print off three pages. Cut out the hexagons. OR purchase a set of 2” paper hexagons at a local fabric store. You need a total of 22.
2. Cut 22 – 4 1/2” squares from your fabrics.
Directions
 |
 |
 |
 |
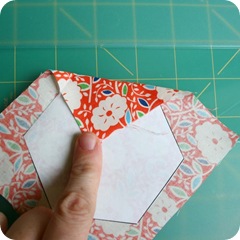
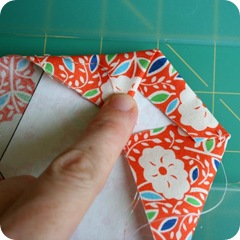
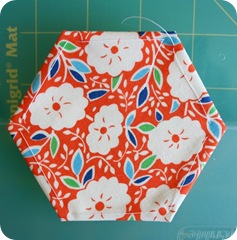
1. Lay your hexagon paper onto your square of fabric and fold down one corner over the paper piece, flush against the straight edge.
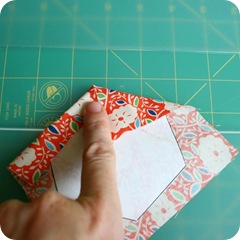
2. Fold over the side to the left of your first fold over the point of the hexagon, making sure the second fold is flush against the side of the hexagon paper.
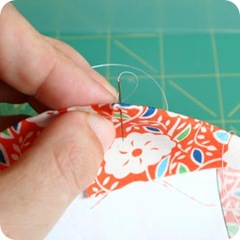
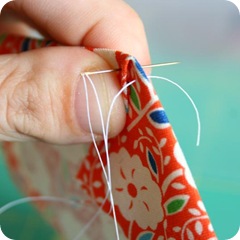
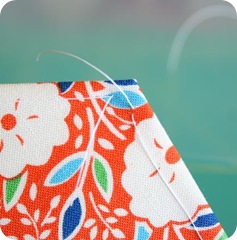
3. Insert your needle and thread from the front of the fabric, through the paper piece and to the back side to the right of the fabric fold. Pull thread through leaving a tail on the front side of the hexagon. No need to knot it.
4. Insert the needle from the back towards the front going through the fabric fold and paper back to the front of the hexagon.
 |
 |
 |
 |
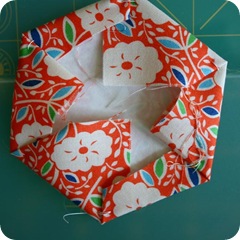
5. Fold down the fabric to the left of the fold you just secured and repeat step 3 and 4 to secure it, keeping a running stitch from corner to corner. Repeat this 4 more times until your hexagon is wrapped in the fabric. Leave the tails of your thread long and don’t worry about knotting them. If I was worried about my thread slipping out, I would go back in and out of the fabric where I first started securing the hexagon.
Do this for all 22 hexagons.
 |
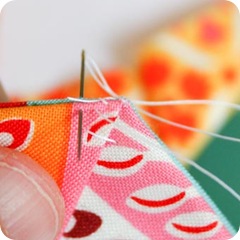 |
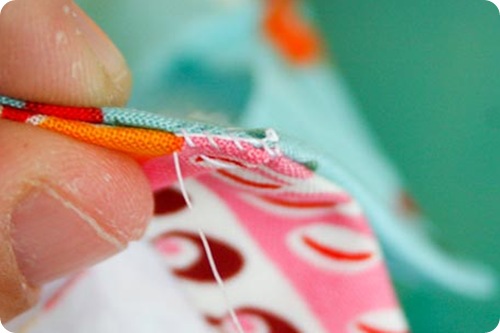
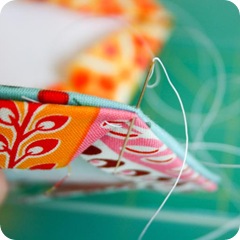
6. Place two hexagons right sides together, mathcing the sides at the corners. Insert your needle at the corners, grabbing just the fabric and not the paper hexagons. Don’t worry about knotting your thread, just leave yourself a little tail. Insert your needle again into the same hole from back to front. This is called a whip stitch.
7. Continue whip stitching down the length of your hexagon, keeping your stitches close together. Catch the tail of your thread under your whip stitches as you go along to secure it.
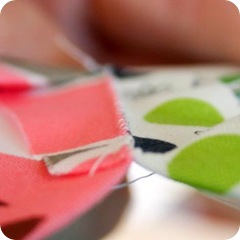
Your captured tail will look something like this under your stitches.
 |
 |
8. Whip stitch to the end of your hexagon and again insert your needle into the corner twice, just as you did at the start. I do place a tiny knot at the end to secure. Open out your hexagon and you will see that the stitching has created a tiny ridge. From the front you will see a seamless connection.
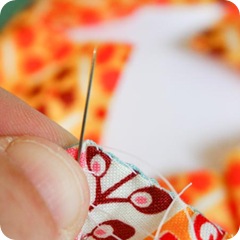
As an aside, here is how I quickly tie my knots (something that I just learned recently)
 |
 |
 |
 |
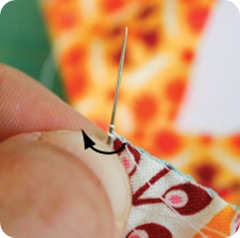
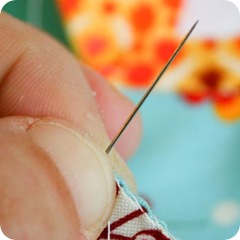
1. I place my needle on top of my fabric to the immediate left of my thread.
2. I wrap my thread around my needle twice, going from right to left.
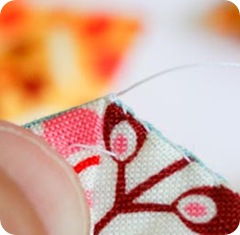
3. I pinch the wrapped thread under my thumb and pull the needle and thread up and through the two loops.
4. I now have a perfect knot at the end of my work, holding it securely in place.
Continue sewing your hexagons together creating 3 strips of 4 hexagons and 2 strips of 5 hexagons. Lay them out so that you have a good visual of how they will be sewn together and grab your first two strips.
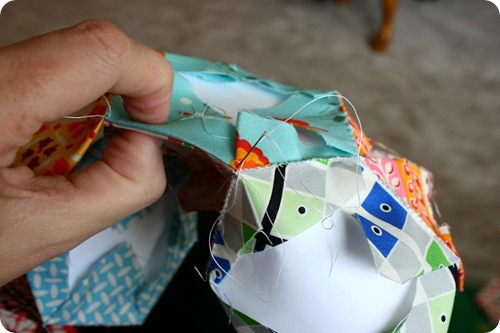
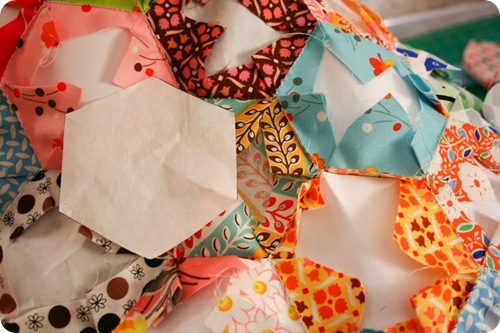
9. Sew your strips together. You will be sewing “Y” seams, which are really very easy to do. You will just match up the sides of your hexagons and slightly bend the hexagons as needed to match the sides. I like to start at the top and work my way down so that I am only having to knot my thread at the end instead of several times along the way.
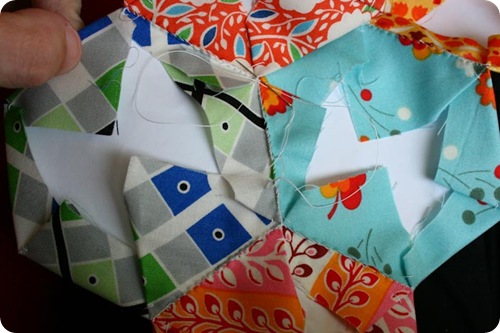
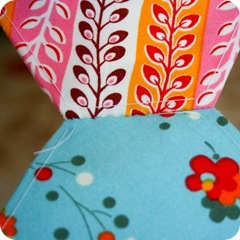
Here is what your seams will look like as you piece together the rows. The piecing here shows how the blue/green check has been sewn to the pink vine and blue posy. Next the orange flower will be sewn to the blue posy and then the orange tile.
Continue in this fashion until your whole block is pieced.
Cut some strips of fabric, whatever color or print that you choose. I am using white as a filler piece in my blocks, so I continued that theme here. Decide how much of your hexagons you want peeking through and draw pencil lines on the hexagons. I drew mine so that I had a square (centered on my hexagons) of 11 1/2”. I then cut strips of white fabric to be 1 1/2”, laid them on my block, rights sides of fabric together, and used my penciled lines as the guide for placement of my strips. I then sewed them down with a 1/4” seam allowance. Finally, I trimmed my block to 12 1/2” square. If you had not already decided to remove your papers before sewing, do so now. That is what I did for my block. I just used a very short stitch length when sewing my boarder fabric on so as to make the tearing away of the fabric easier. This way I knew that my hexagons would keep their shape as I sewed.
I loved the effect of this block being boxed in by the white. I feel as though I’m looking at a framed picture, or looking into a window. Framing this block out just finished it off for me. I hope you will give these a try, they are so much fun and easier to take with you where ever you may go. Don’t forget to read the accompanying post on my “Adventures in Hexagons” .

