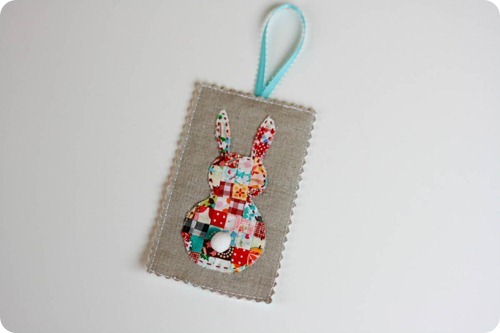
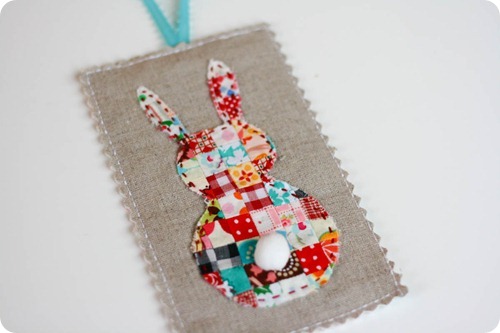
A few of us quilt-y friends decided last month to do an ornament swap. Our deadline to mail was this week and my secret partner got her ornament! We roped Yahaira into choosing our partners for us so none of us would have an idea of what were were getting. Jeni was my swap partner and I was so happy to have the opportunity to spoil her since she spoils all of us! I knew right from the start I wanted to make her a bunny ornament and came up with the idea of doing a small patchwork stuffed one, but that didn’t quite turn out as planned. The ears were too narrow to pull through, so I had to come up with another plan…because I wasn’t going to make another 66 piece tiny patchwork piece again. So the project slowly evolved into what you see and I couldn’t be more happy with it! I have plans to make an owl, and a Christmas tree with green patchwork, and… Lots of stuff.
So this will be a quick tutorial…because it’s really simple. You really could figure this out on your own, but I’ll give you the template I used and some quick instructions.
1. Cut out 66-1” squares from your fabric (I used my tiny scraps for this)
2. Sew the pieces together into 6 strips of 11 squares with a 1/4” seam allowance, making sure to use a shorter stitch length to better hold the pieces together.
3. Sew your 6 strips together.
4. Trace the bunny template onto the paper side of fusible web and iron on to the backside of the patchwork piece.
5. Cut out the bunny shape and peel away the paper backing. Iron on to your backing fabric (I used a large scrap of linen)
6. Sew a running stitch around the outside edge of the bunny with three strands of embroidery floss.
7. Layer on top of batting and backing fabric (with fabrics right sides out). Trim your fabrics with a 3/4” of the backing fabric left around your bunny. Your rectangle should be approximately 4” x 6-3/4”.
8. Edge stitch around your rectangle with a 1/4” seam allowance leaving an opening at the top to insert the loop later.
9. Trim your edges with a pinking blade or shears.
10. Insert your ribbon loop and top stitch opening closed.
11. Glue on your bunny tail (a pom-pom) with fabric glue.
A lot of directions, but it’s really pretty quick and easy! The tiny patchwork seems hard, but it’s really not. It won’t be perfect – small patchwork rarely is – so just go with it. Make sure to give yourself a small stitch length when sewing it together so it doesn’t separate as you work with it. I’d love to see what you create – feel free to add it to my Flickr group!
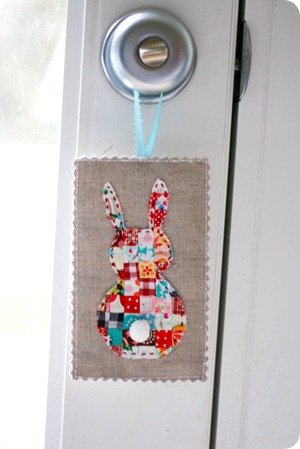
You know what I especially love about this ornament? I could see it hanging in a craft room all year long!
———————————————————————————————–
Edited :: Per Yahaira’s casual request, here’s a dog for the dog lovers out there. Just exclude the bunny tail part of the directions.
Edited Again :: And a kitty for the kitty lovers out there…
…and an owl
…and a robot


