Fabric Scrap Basket Pressing
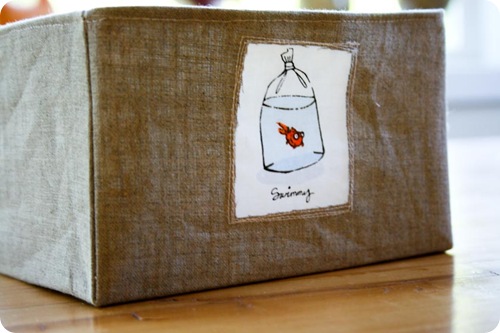
As an aside to my Fabric Scrap Basket tutorial, I thought I would talk about how I get my sides so crisp and square. I press. A lot.
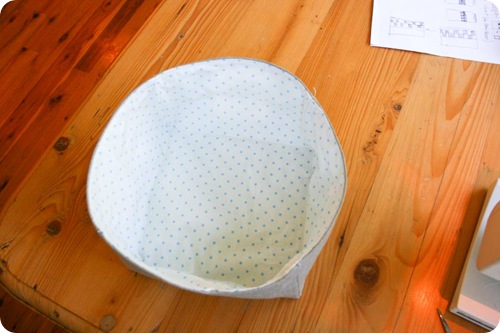
When I first finish sewing the basket together, this is what it looks like. Very rounded from the top. Not very “basket” like in the boxy sense.
 |
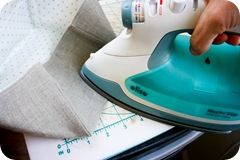 |
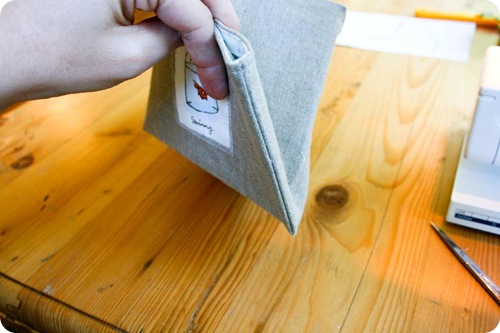
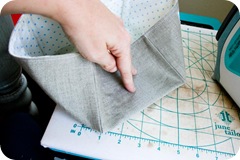
First I start by folding the sides in toward the center and pressing with the iron along what would be the bottom edge. When I’m pushing the side into the center, I make sure to push it in only so much as to have the end of my sewing of the side be where the bottom edge is. I know, sounds confusing. Blow up the picture and see what I mean.
Then I fold the sides to each other and press the corner seam. Really well. On all four corners.
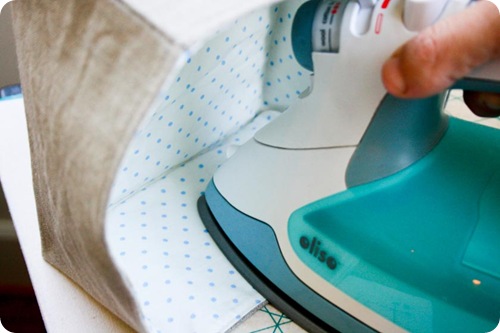
Finally, I lay it on its side and iron the sides to help with any wrinkles. This helps to give it a nice, crisp look. Some of it of course has to do with my using a stiff sew-in interfacing, but even with softer batting you should be able to have it sit a little more like a box with square edges, instead of round. Cause then that wouldn’t really be a box, would it.
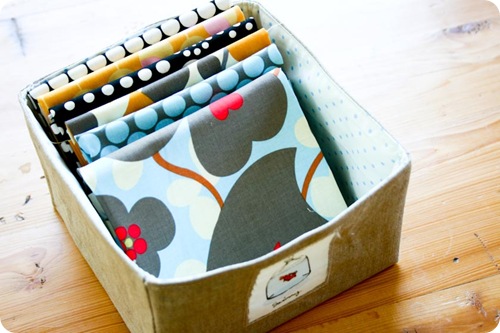
Then of course you’re suppose to stuff it with all sorts of fun stuff.
…it’s so hard to get anything done with views like this sitting in front of me while I’m drafting and typing. Maybe it will rain tomorrow.
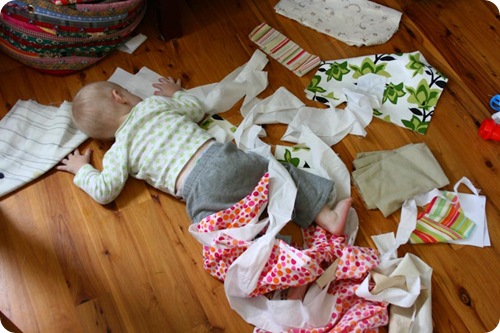
Just in case it’s a day or two before I post, I have to share my son and his scrap pile. Moments like these make three sleepless nights worth it. My little man is on the mend and I’m looking forward to a good half-way decent nights sleep tonight.

