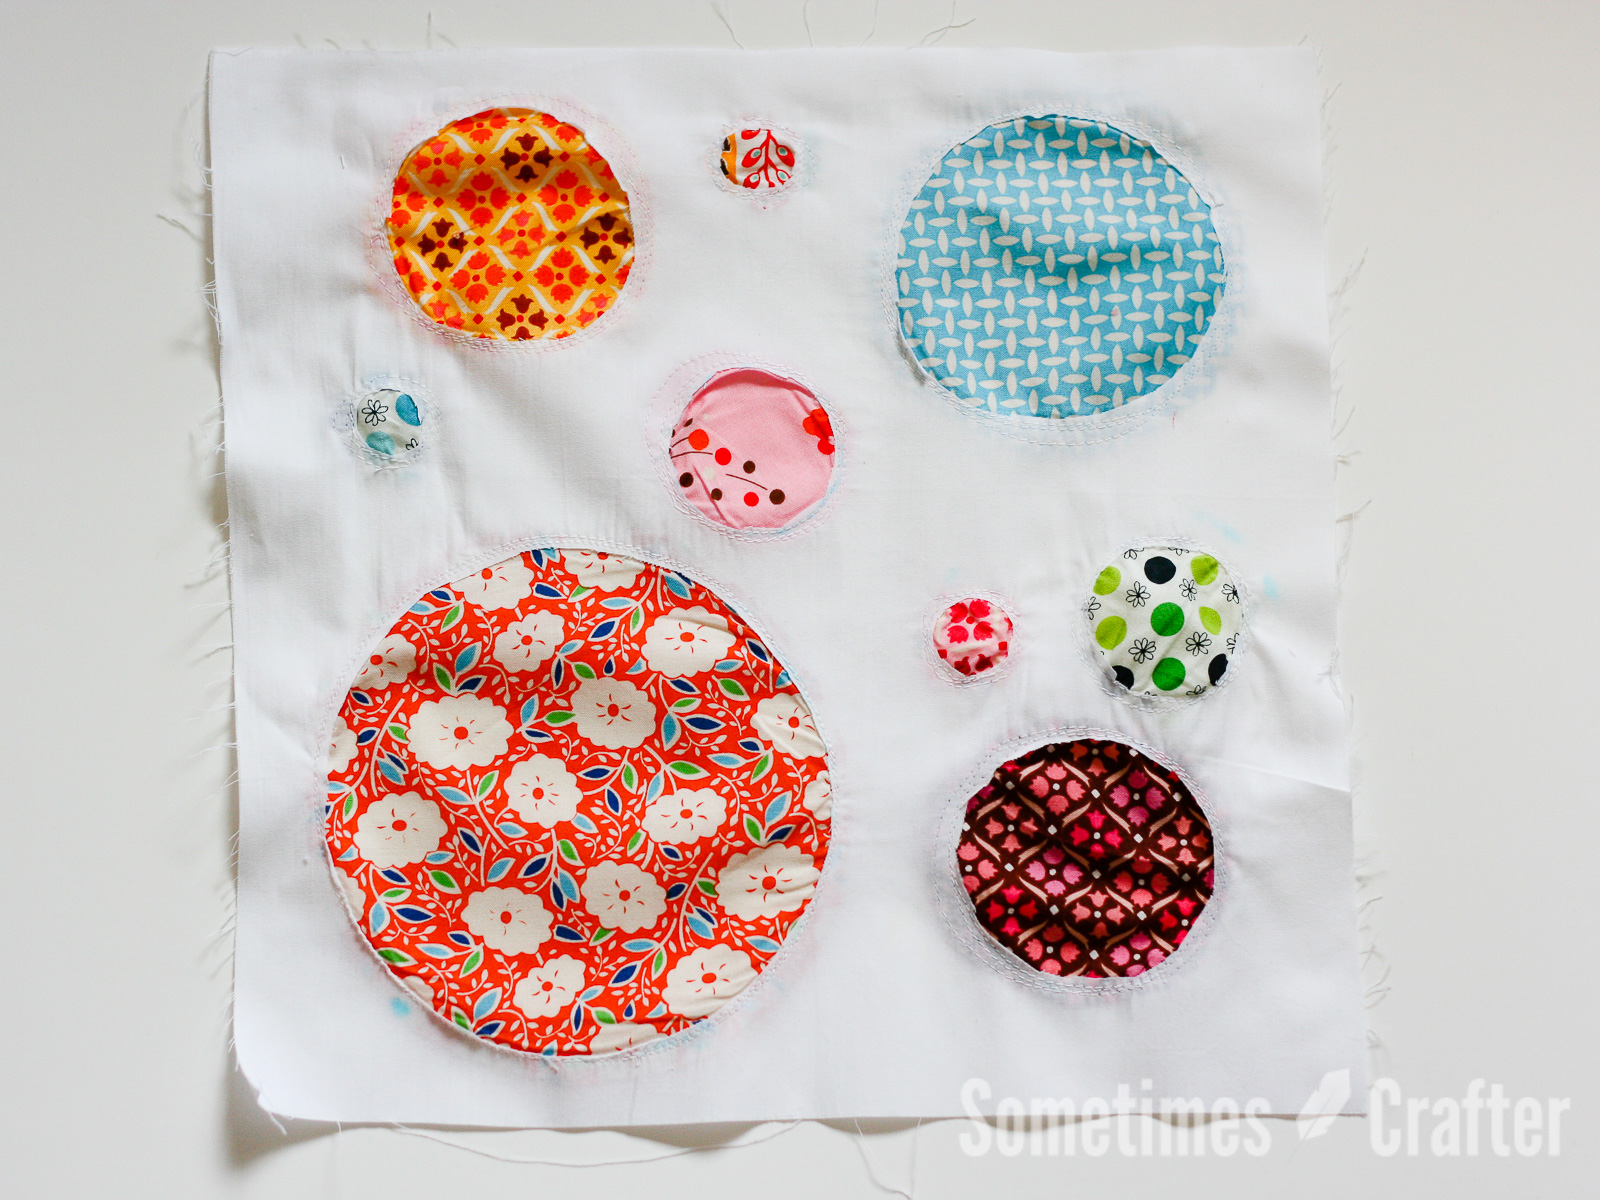
Finally, the final block in the quilt-along series. While I’ve provided a pattern for this particular block, the idea behind having an appliquéd block was to have you try some appliqué that interests you. There are so many different ways to appliqué that I couldn’t quite possibly show them all to you. But I can direct you to some talented bloggers who have shown their methods of appliqué. I prefer the reverse [machine] appliqué method, mostly because it’s fast. I like fast. As you can probably tell on this one I rushed a little too much (bubbled fabric). I recommend…
Sampler Quilt Along
-
Square In A Square Block
Read moreAnother one done! This is “January’s” block. This one is an easy one, but gives you some patchwork experience. A good block to start with. Guess that means this should have been our block last March. At any rate, it will go quickly for most of you. And if you are new to sewing, this is probably a good block to start with. Our inspiration block is here. Again, another download for directions. Tomorrow I’ll be posting the last of…
-
Stacked {Whatever} Block
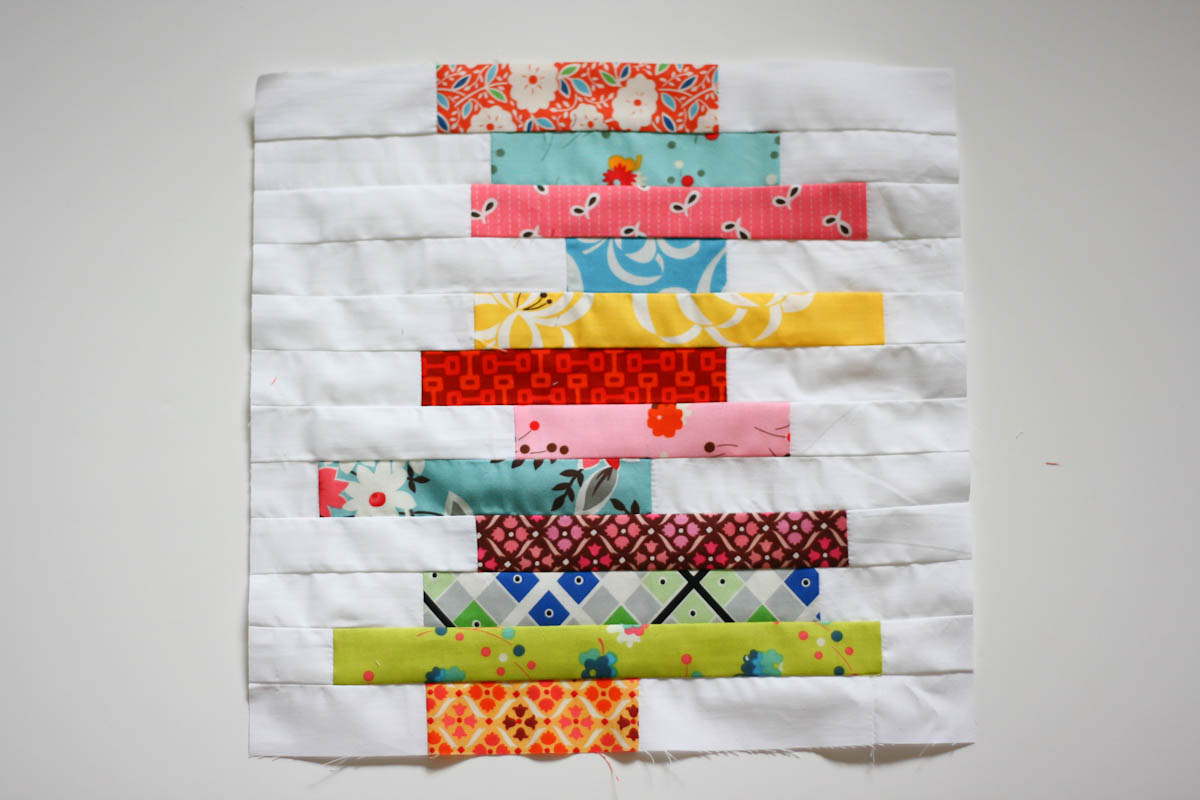
Read moreI know, real inventive name. But I had no idea what to call it. And I can’t seem to find a name based on my searches. I can’t imagine this block doesn’t have a name yet, seems how I’ve seen it around for years now. I do like Stacked Bolts/Bricks/Books. I will let you decide what it’s a stack of. Of course, if you turn the block clockwise it is no longer stacked bolts/bricks/books. It looks more like a seismograph…
-
{Cheaters} 8 Point Star
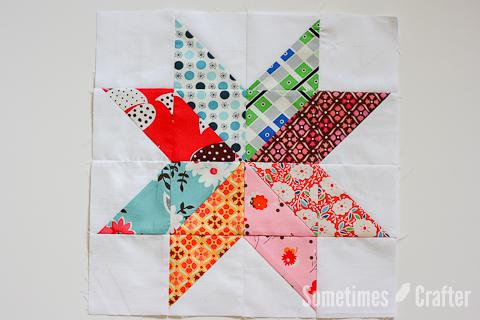
Read moreSo, getting back to the Sampler Quilt-Along… I’m several blocks behind and it is my goal to get those done next. See, I have some fabric waiting for another quilt pattern, but I’ve forbid myself to work on it until the last four blocks are done. So here is “November’s” block. Our inspiration block for this quilt was an 8 point star, which uses a 45 degree angle diamond and is usually paper pieced, but I felt like finding a…
-
Hexagons Tutorial
Read moreOctober’s block of the month is hexagons. A warning: these things are addicting! I’m going to give a quick run down of how to make the block here, but for a more informative discussion on hexagons and everything I tried, please see my separate post on “Adventures in Hexagons” next posting. There are many ways to make your hexagons, but the purpose of this tutorial is to learn the English Paper Piecing method. Preparation 1. Download the 2” Hexagon Template…
-
Cathedral Window Block
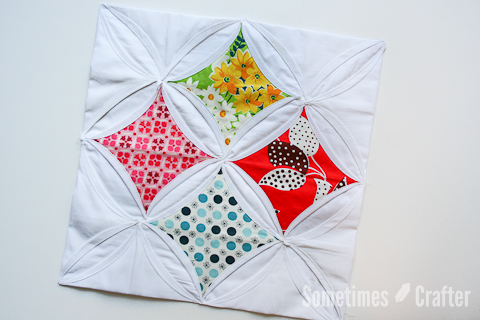
Read more9/19/2020 – Just a quick note since there has been so much traffic to this tutorial lately. There is no pattern to download for this block, it is simply a photo tutorial to help you make the block you see in the photo. Here it is, Septembers block of the month. Finally. The title of this post should really be “adventures in sewing”. I have to say, I love how this block looks, but until I find yet another way to…
-
Paper Pieced Block
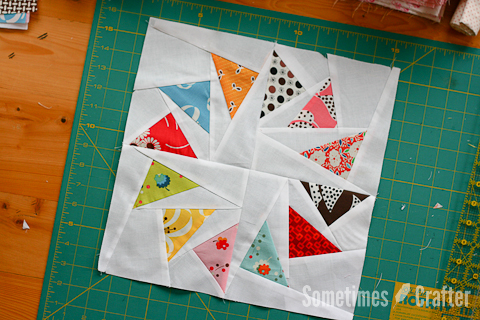
Read moreJuly’s block has got to be my favorite – both visually and for how it’s pieced. I am far from being an expert at paper piecing, but I’ve done it a few times and can at least get you started. I welcome all of you with more experience to please let us know your secrets and share some links. Because we girls can’t manage to get together in the summer months, this will be what I know to make sure…
-
Tutorial :: Improvisational Block
Read moreToday’s tutorial is not the same as the last tutorials. There is no direct way for me to tell you all how to do your improvised block, I can only lead you in the direction to free form sewing your pieces together. I created my block and at the end was very happy with it – but let me tell you, part way through I wasn’t liking it. But I just stuck with it and I’m glad I did. So…
-
Drunkard’s Path Block
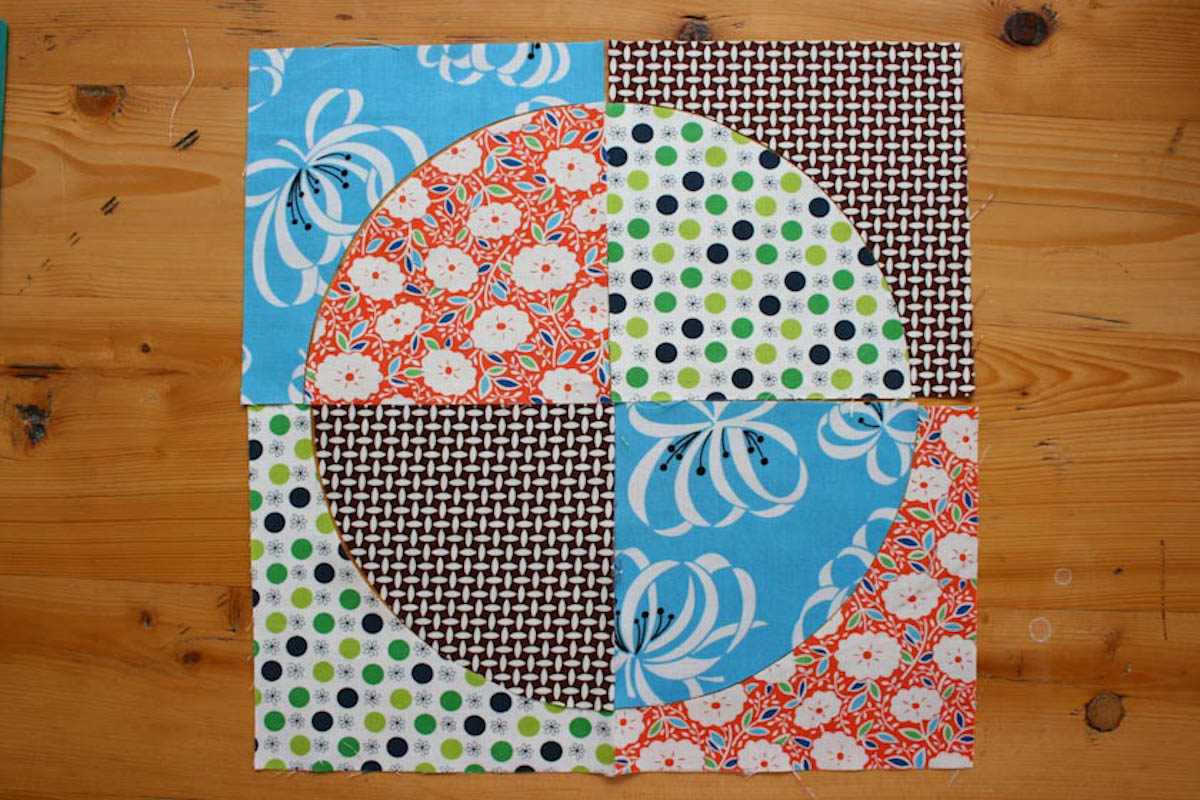
Read more**I have since ‘misplaced’ the original template file for this block, but the directions still apply for any drunkards path piecing you do!** First things first: you need to decide how many fabrics you want to use. You’ll want at least two fabrics, but no more than 8 for a block like this. (You’ll see why I say a “block like this” at the end.) Directions 1. Choose your fabrics and cut to 7 1/2” square. 2. Stack all your…

