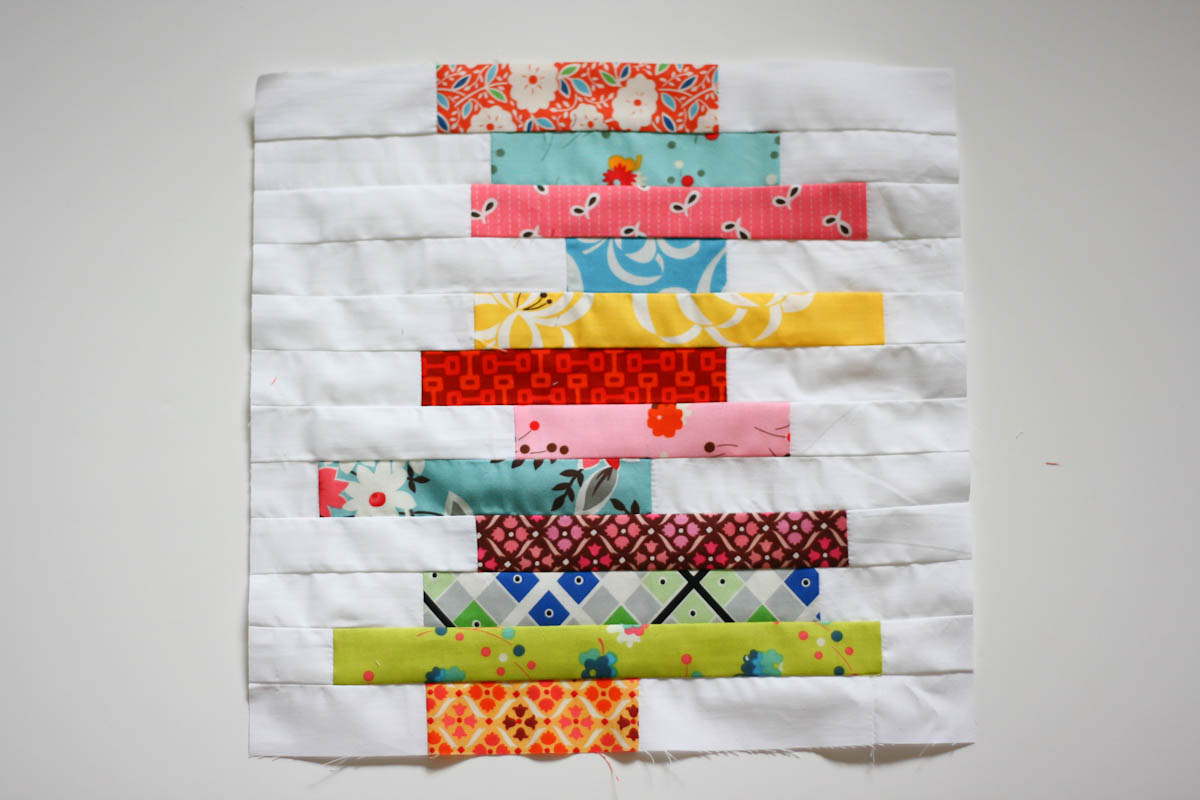
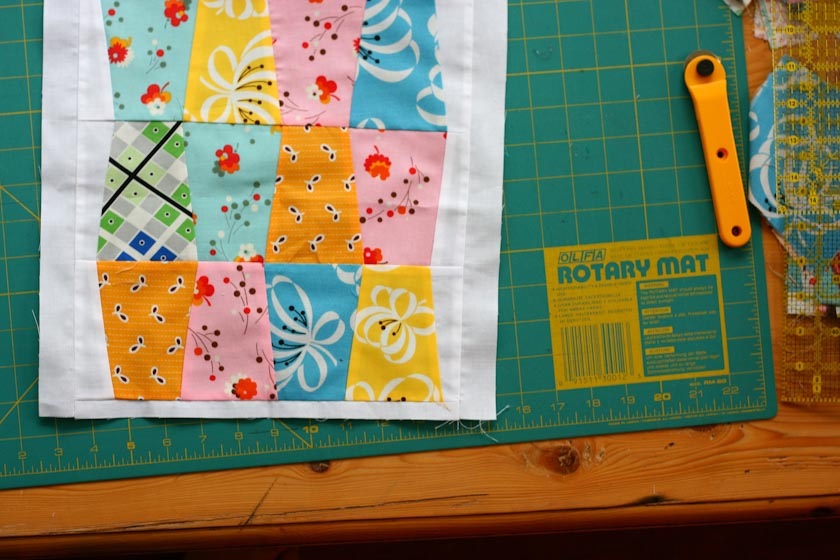
I know, real inventive name. But I had no idea what to call it. And I can’t seem to find a name based on my searches. I can’t imagine this block doesn’t have a name yet, seems how I’ve seen it around for years now. I do like Stacked Bolts/Bricks/Books. I will let you decide what it’s a stack of. Of course, if you turn the block clockwise it is no longer stacked bolts/bricks/books. It looks more like a seismograph…
-
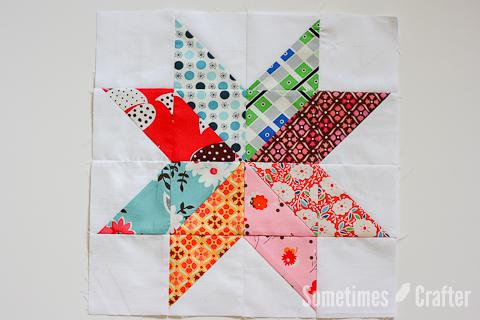
{Cheaters} 8 Point Star
Read moreSo, getting back to the Sampler Quilt-Along… I’m several blocks behind and it is my goal to get those done next. See, I have some fabric waiting for another quilt pattern, but I’ve forbid myself to work on it until the last four blocks are done. So here is “November’s” block. Our inspiration block for this quilt was an 8 point star, which uses a 45 degree angle diamond and is usually paper pieced, but I felt like finding a…
-
Adventures In Hexagons
Read moreI tried just about everything I could think of with these hexagons. Different papers, different stitches, different methods of attaching… So I wanted to share all of this with you to let you know what I thought of each method. And, this would be a great post for all of you to share your insights, too! Preparing Fabric I first went with the suggestion to cut my fabric hexagons in the shape of the hexagon with a seam allowance. It…
-
Hexagons Tutorial
Read moreOctober’s block of the month is hexagons. A warning: these things are addicting! I’m going to give a quick run down of how to make the block here, but for a more informative discussion on hexagons and everything I tried, please see my separate post on “Adventures in Hexagons” next posting. There are many ways to make your hexagons, but the purpose of this tutorial is to learn the English Paper Piecing method. Preparation 1. Download the 2” Hexagon Template…
-
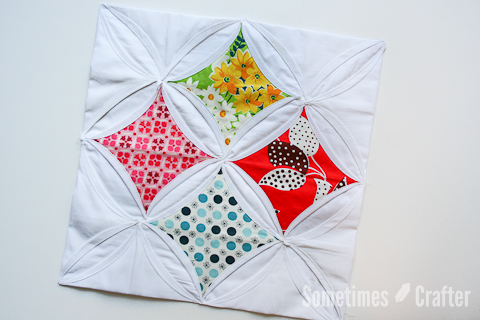
Cathedral Window Block
Read more9/19/2020 – Just a quick note since there has been so much traffic to this tutorial lately. There is no pattern to download for this block, it is simply a photo tutorial to help you make the block you see in the photo. Here it is, Septembers block of the month. Finally. The title of this post should really be “adventures in sewing”. I have to say, I love how this block looks, but until I find yet another way to…
-
Patchwork Kindle Case
Read moreMy mom received a Kindle for her fake birthday a couple weeks ago and she volunteered me to make her a protective case for it. She decided she wanted me to use her Flea Market Fancy. No problem! So I got busy thinking of an idea and drafting it out. It is super simple and easy to put together and a great way to protect the screen of your Kindle while stowed away in a purse or backpack. Oh, and…
-
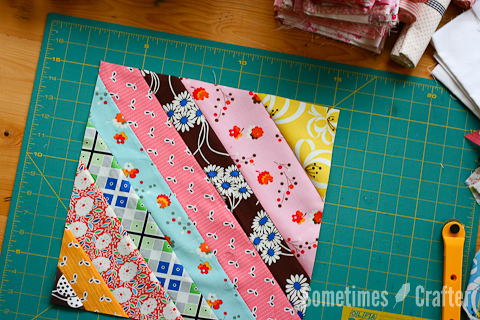
String Quilt Block
Read moreHere it is – our August block for the Sampler Quilt Along (see sidebar for links). So this tutorial has been done a lot. And it’s a nice easy block. I really hate to do a tutorial that has already been done so much, but maybe I do things a little differently and I want to present every block for this sampler quilt in one spot. So, I’m going to kind of breeze through it (because it is simple) and…
-
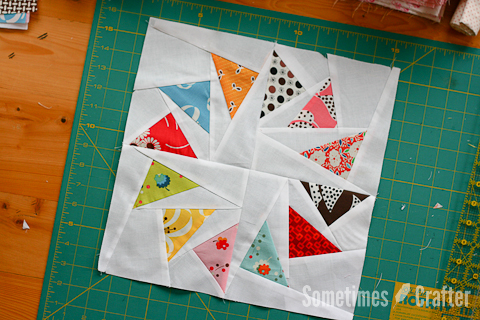
Paper Pieced Block
Read moreJuly’s block has got to be my favorite – both visually and for how it’s pieced. I am far from being an expert at paper piecing, but I’ve done it a few times and can at least get you started. I welcome all of you with more experience to please let us know your secrets and share some links. Because we girls can’t manage to get together in the summer months, this will be what I know to make sure…
-
Tutorial :: Trapezoid Block
Read moreI’m sure there is another more clever name for this June’s block, but if there is, I haven’t a clue. So here is one of my blocks, after lots of trial and error to get it the right size. I don’t usually have issues with that, but something was off with my math the day I originally made this block. Oh well. (Something was off with my photography yesterday, too…I couldn’t get the darn thing in the frame! That’s what…

